User Parametrics within Fusion 360
WHEN TO USE PARAMETERS:
- height
- width
- length
- thickness
I am making a small box out of acrylic to store circuit boards the students at Fabacademy are working with. I am working with a material of 3.0 mm, and made a PressFit comb for it because I want the box to have finger joints. On this page I will record how to set up user parameters and make finger joints.
I followed this tutorial to start off with: link
User Parameters
- values that you can use to change or update your model completely through your design history
Step 1 : change parameters
-
Go to MODIFY in your toolbar, and in the dropdown menu select CHANGE PARAMETERS. This will open up a new window.
-
Within this window, there will be no parameters to start off with. Within the table, there is a plus + sign following the words USER PARAMETERS. Click on it, and a small window will open. This will allow you to give the new parameters a name, type of units, and a description if you like.
-
Once selected OKAY in that window, it will add this parameter to the table like shown below.
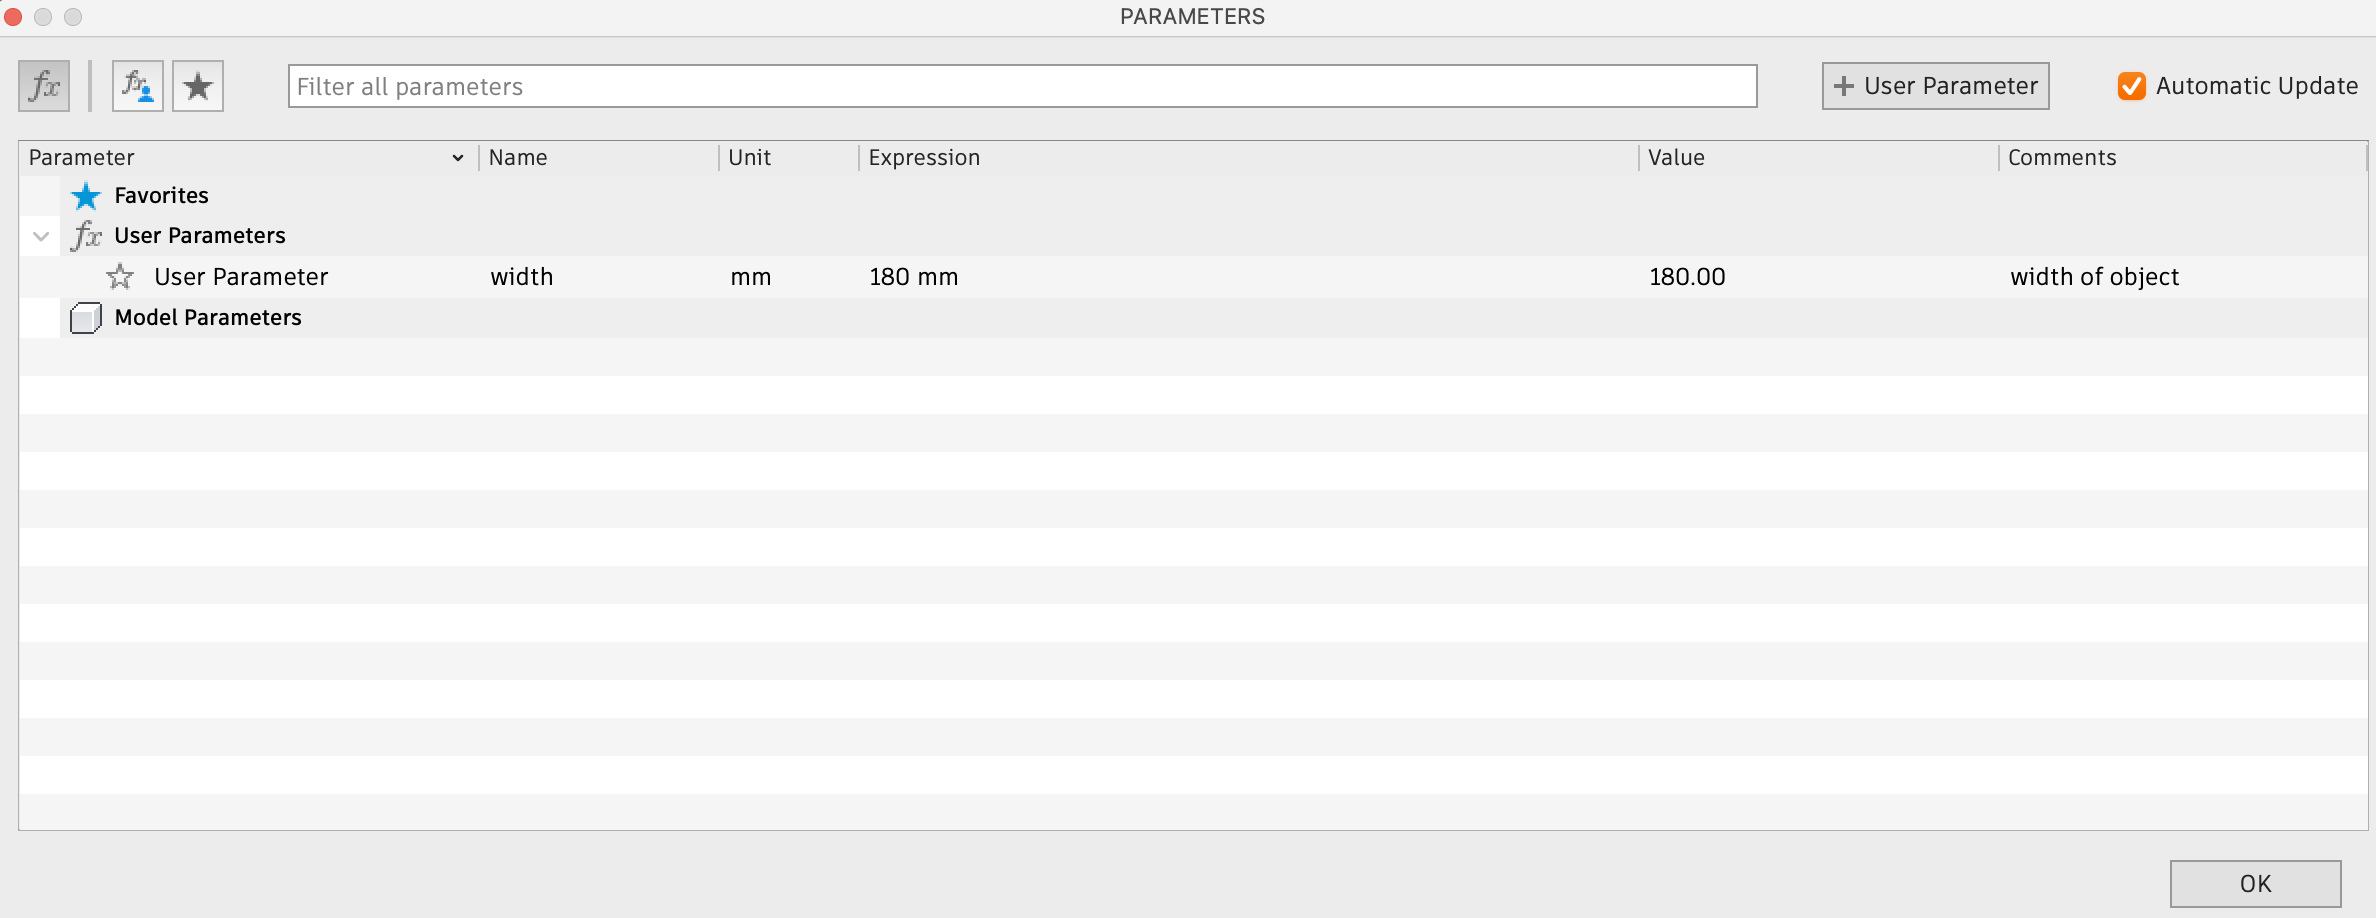 (image of first parameter added to table)
- You can continue adding new parameters, like the height of your soon-to-be box and the thickness of the material you will use.
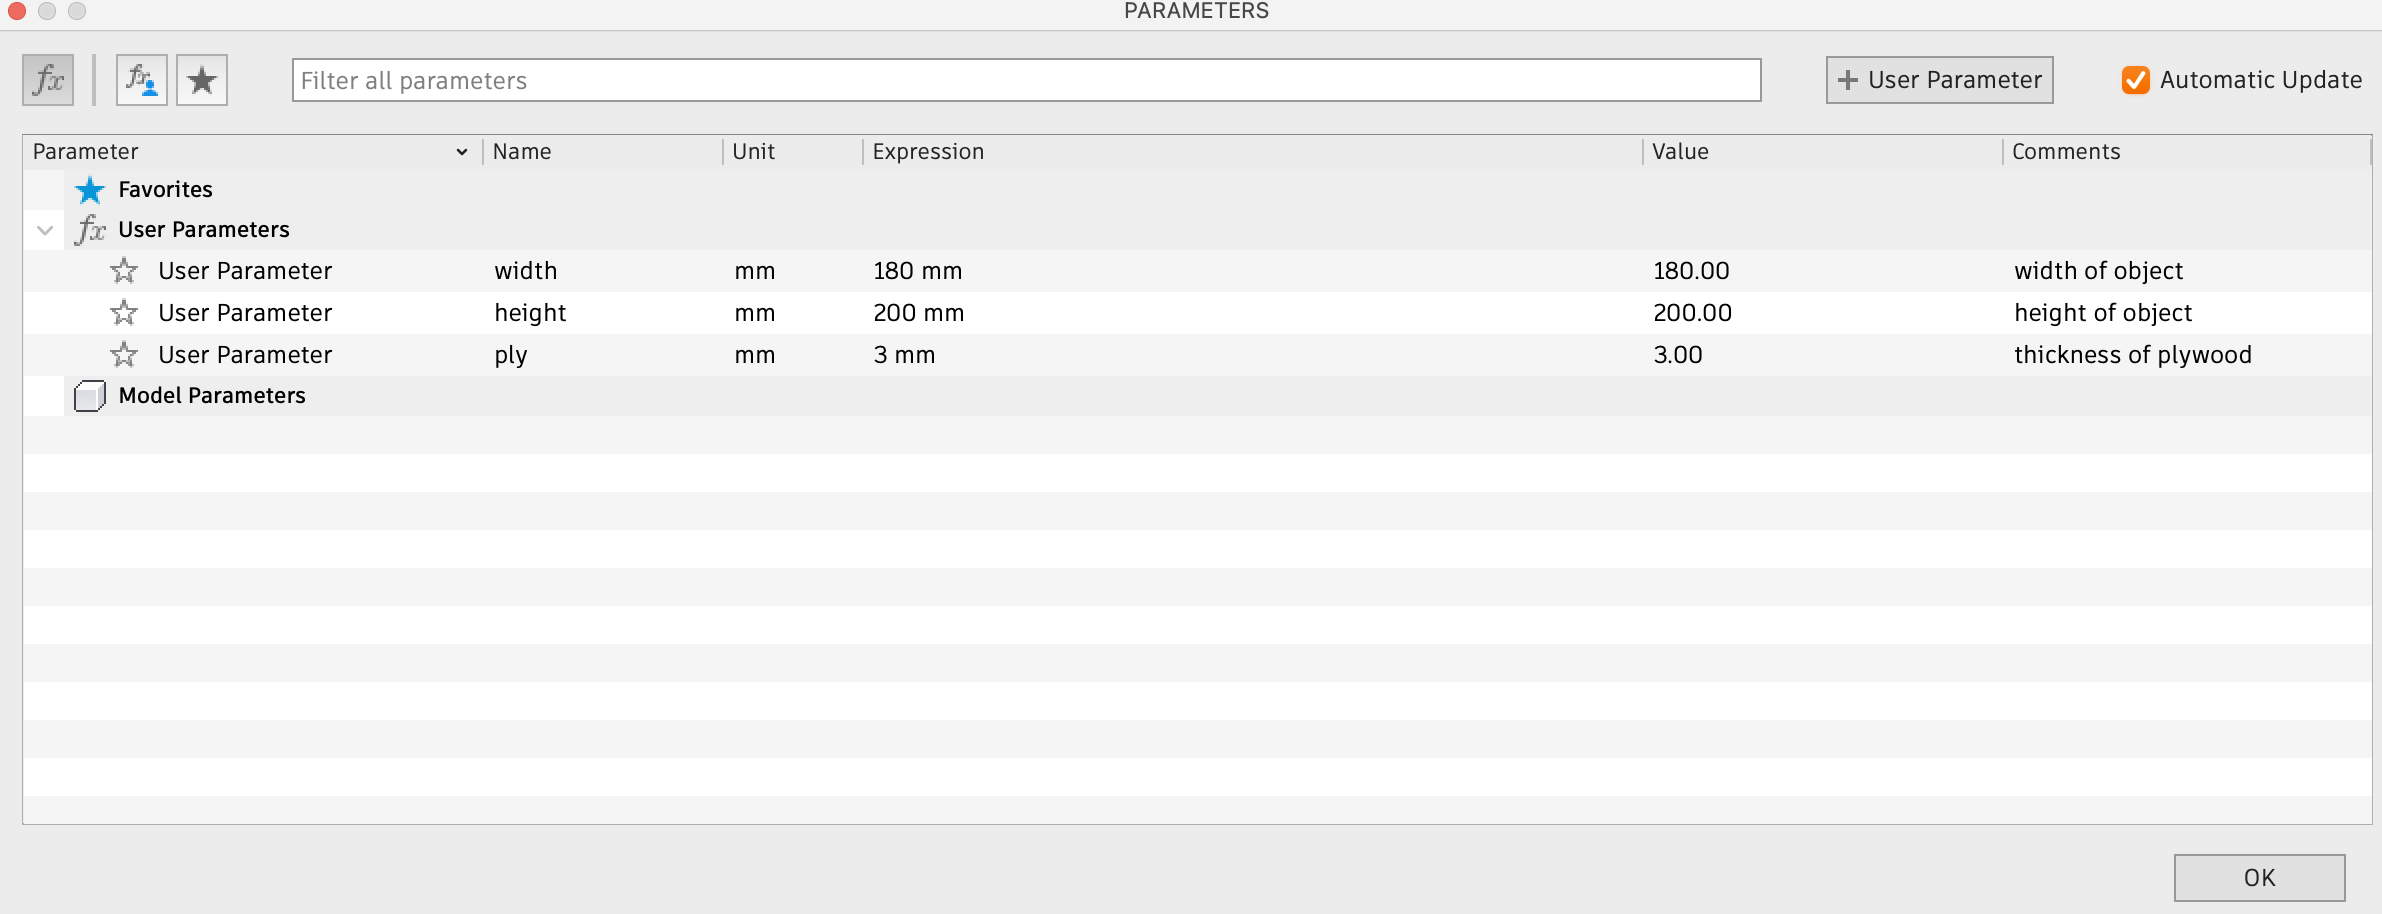 (image of three parameters added to table)
- You may add as many parameters as you please, alongside using equations to make these parameters. Below I added a new parameter, with the expression being the already established HEIGHT, divided by 5.
 (image of expression of holeSpace)
-
Now if you change the HEIGHT expression in the table to a different value, the value of the parameter you just made, will change accordingly.
-
Once you have established a couple of parameters, exit the window and you can start seeing how these parameters will come in handy.
-
Start a new sketch and create a center-point rectangle. Click on the origin to place the sketch, and instead of typing a value for the measurements, asign one of your parameters, (as shown below)
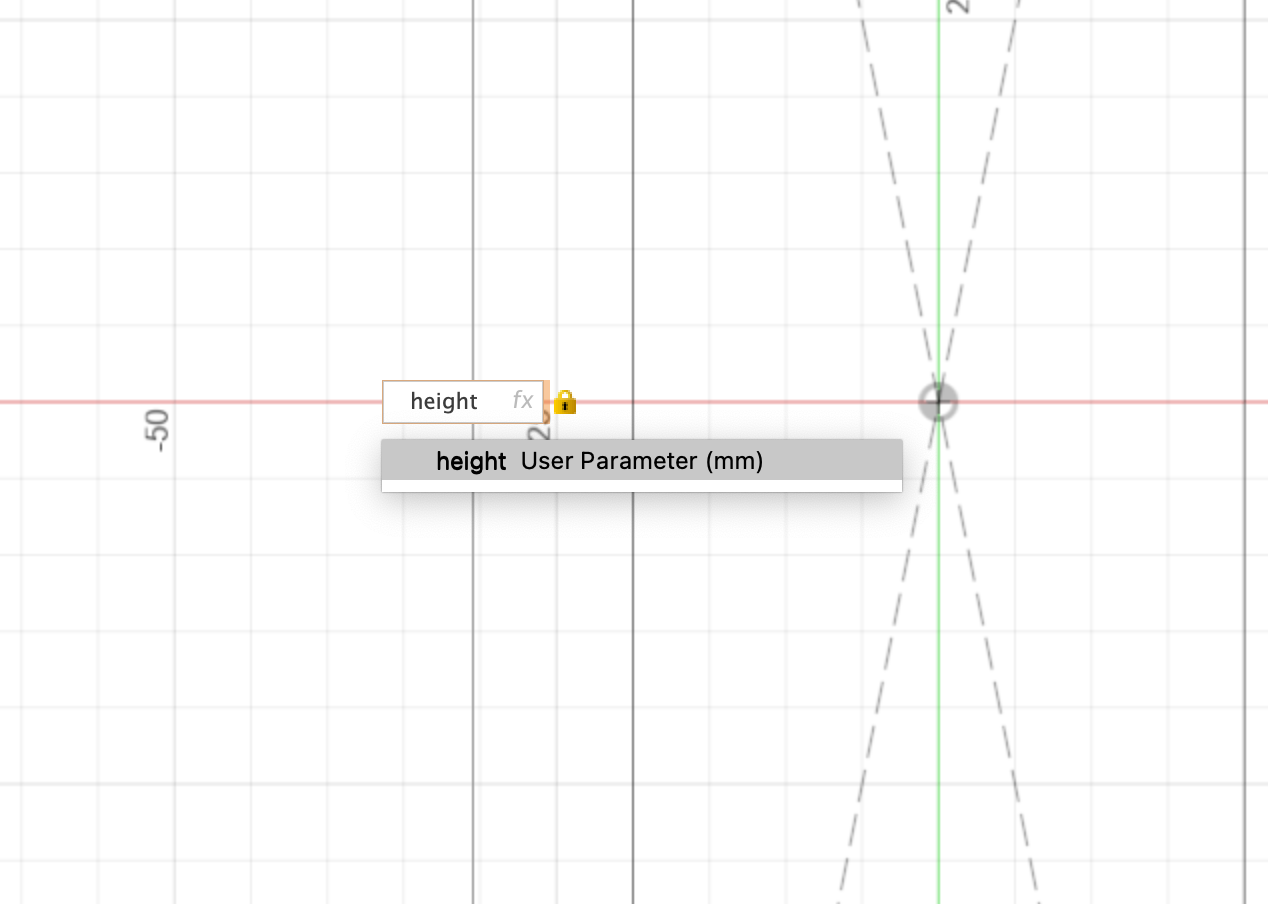 (image of parameter assign to sketch)
-
You can also do this with extrusion. If you press E for extrude, you can use the parameter of material thickness.
-
Now if you go back to the previous window where you established the values for each parameter and start making changes, you can watch your model change accordingly.