We have five 3D printers in our fablab
Prusa i3MK3S
https://www.prusa3d.com/product/original-prusa-i3-mk3s-3d-printer-kit/
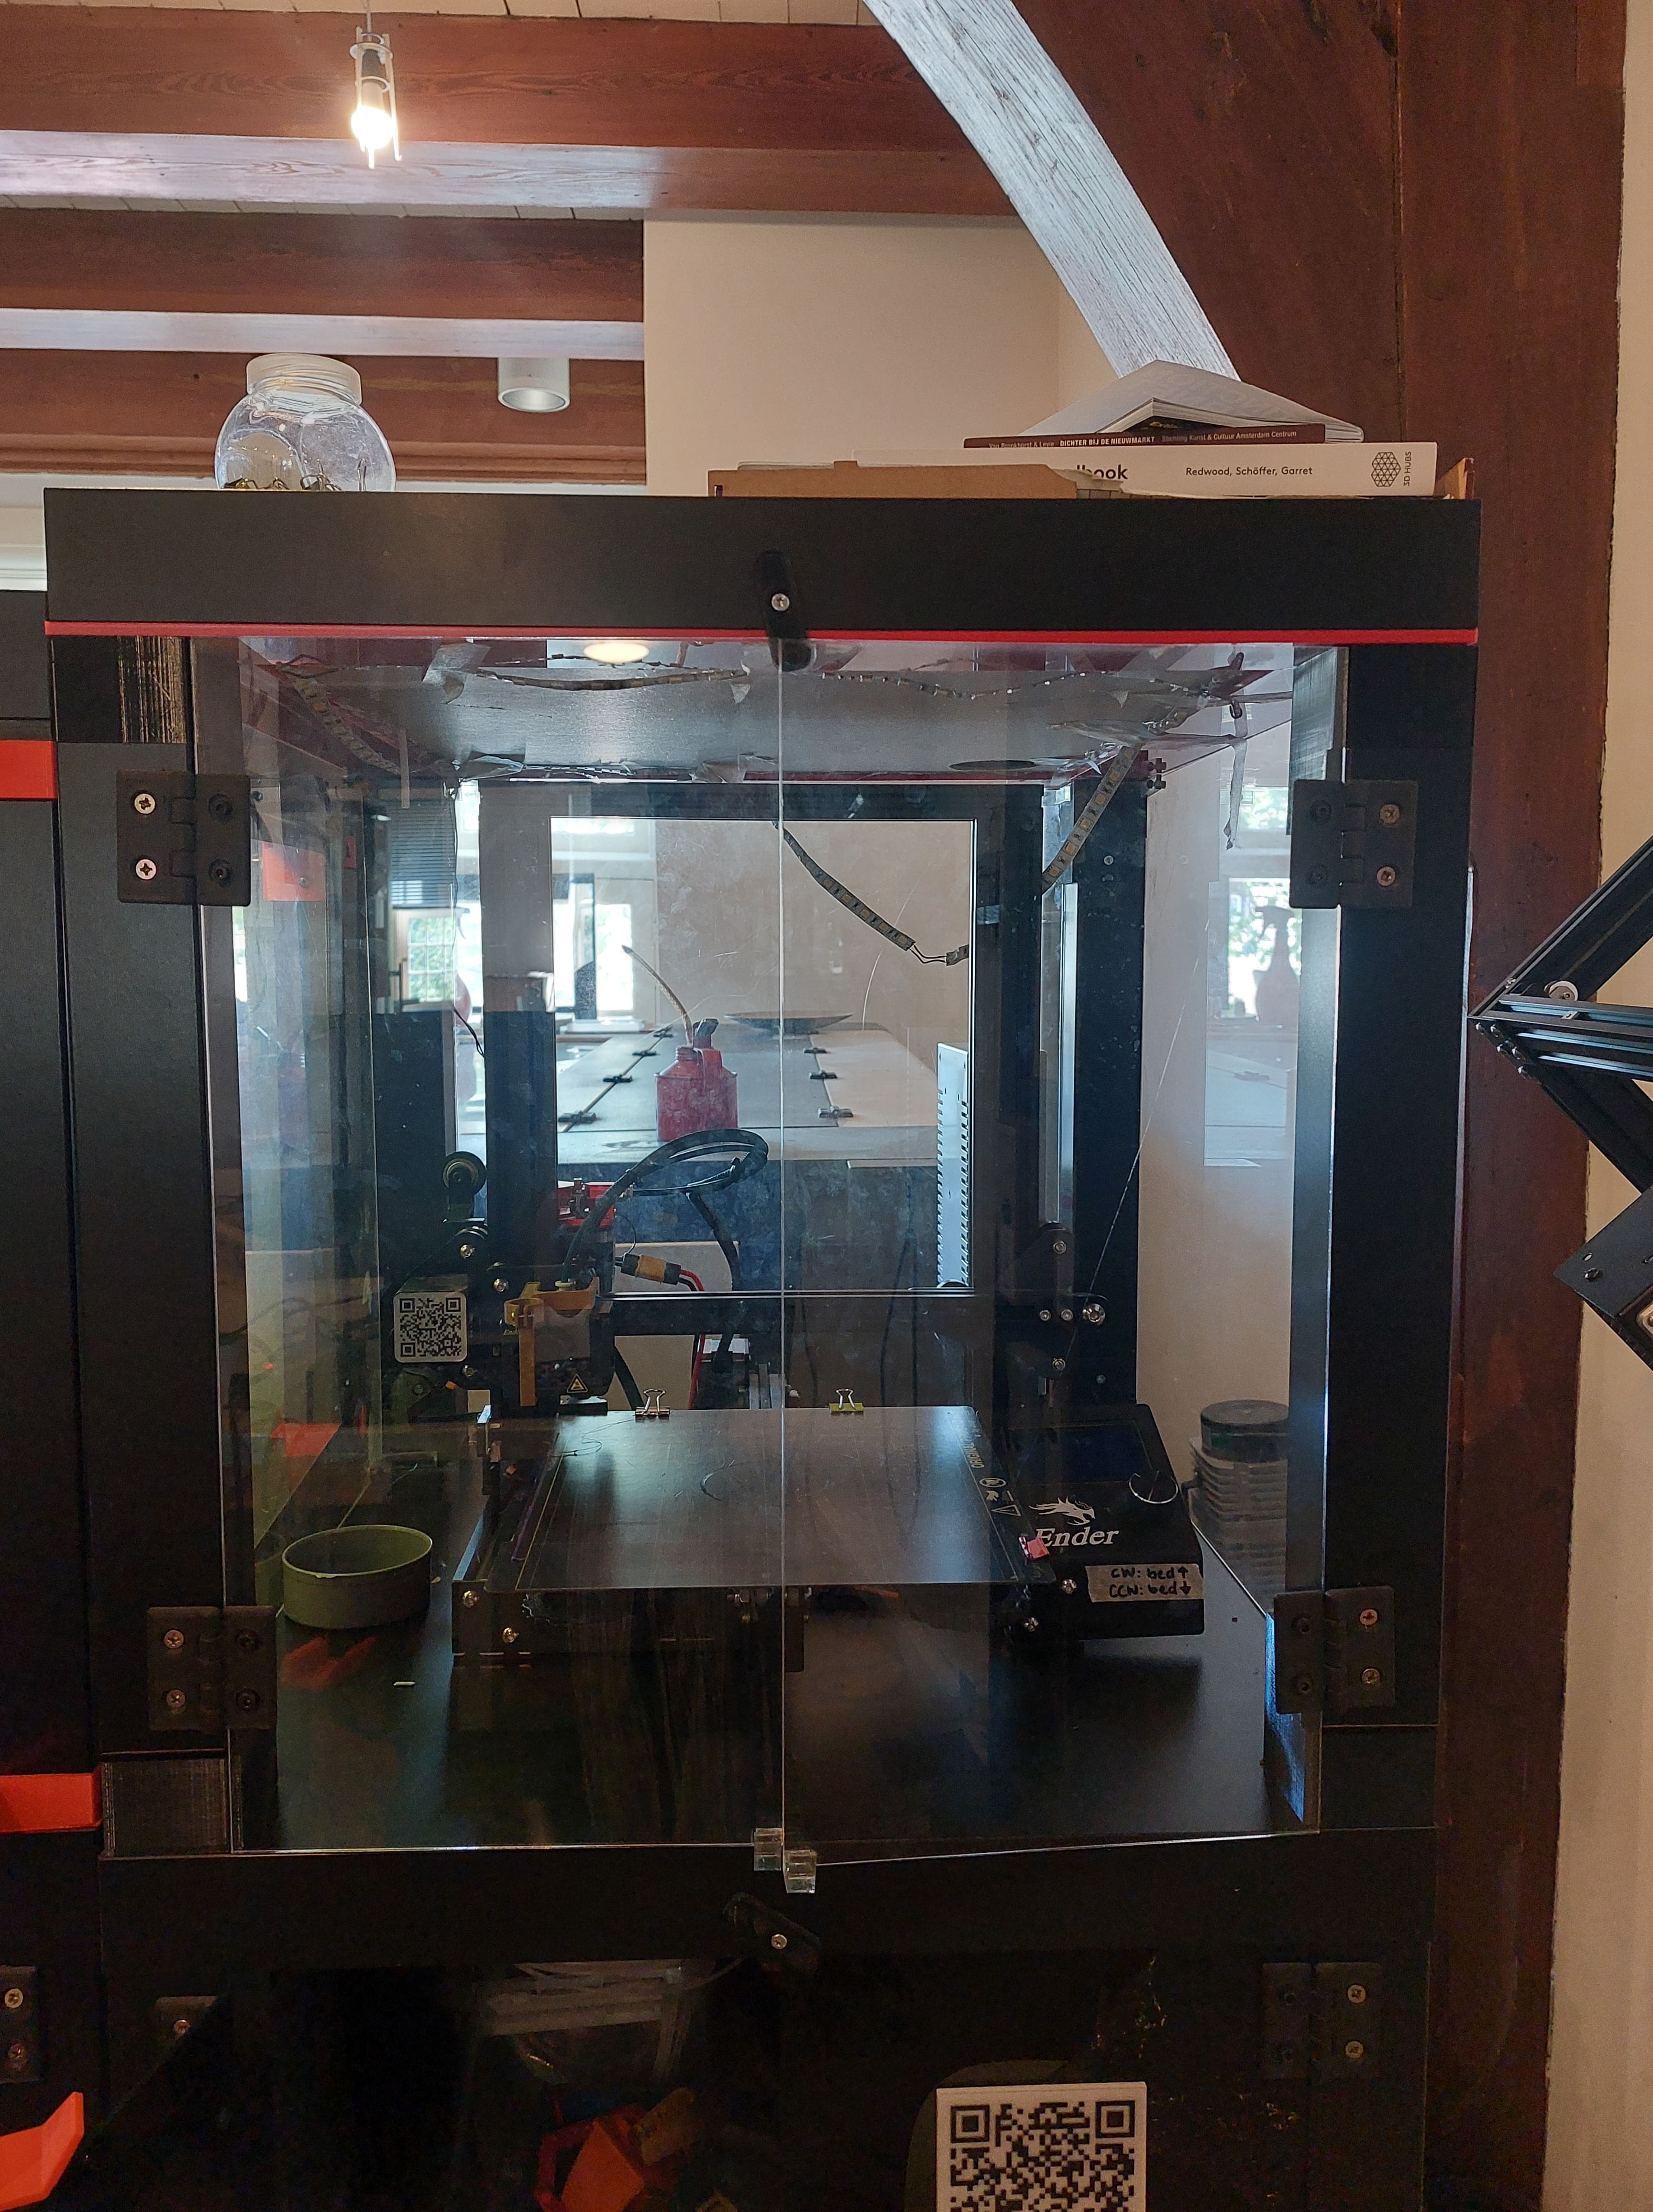
Creality Ender 3
https://store.creality.com/eu/products/ender-3-3d-printer-upgrade-combo-4q4l?spm=..page_2227251.products_tab_1.1
Ultimaker
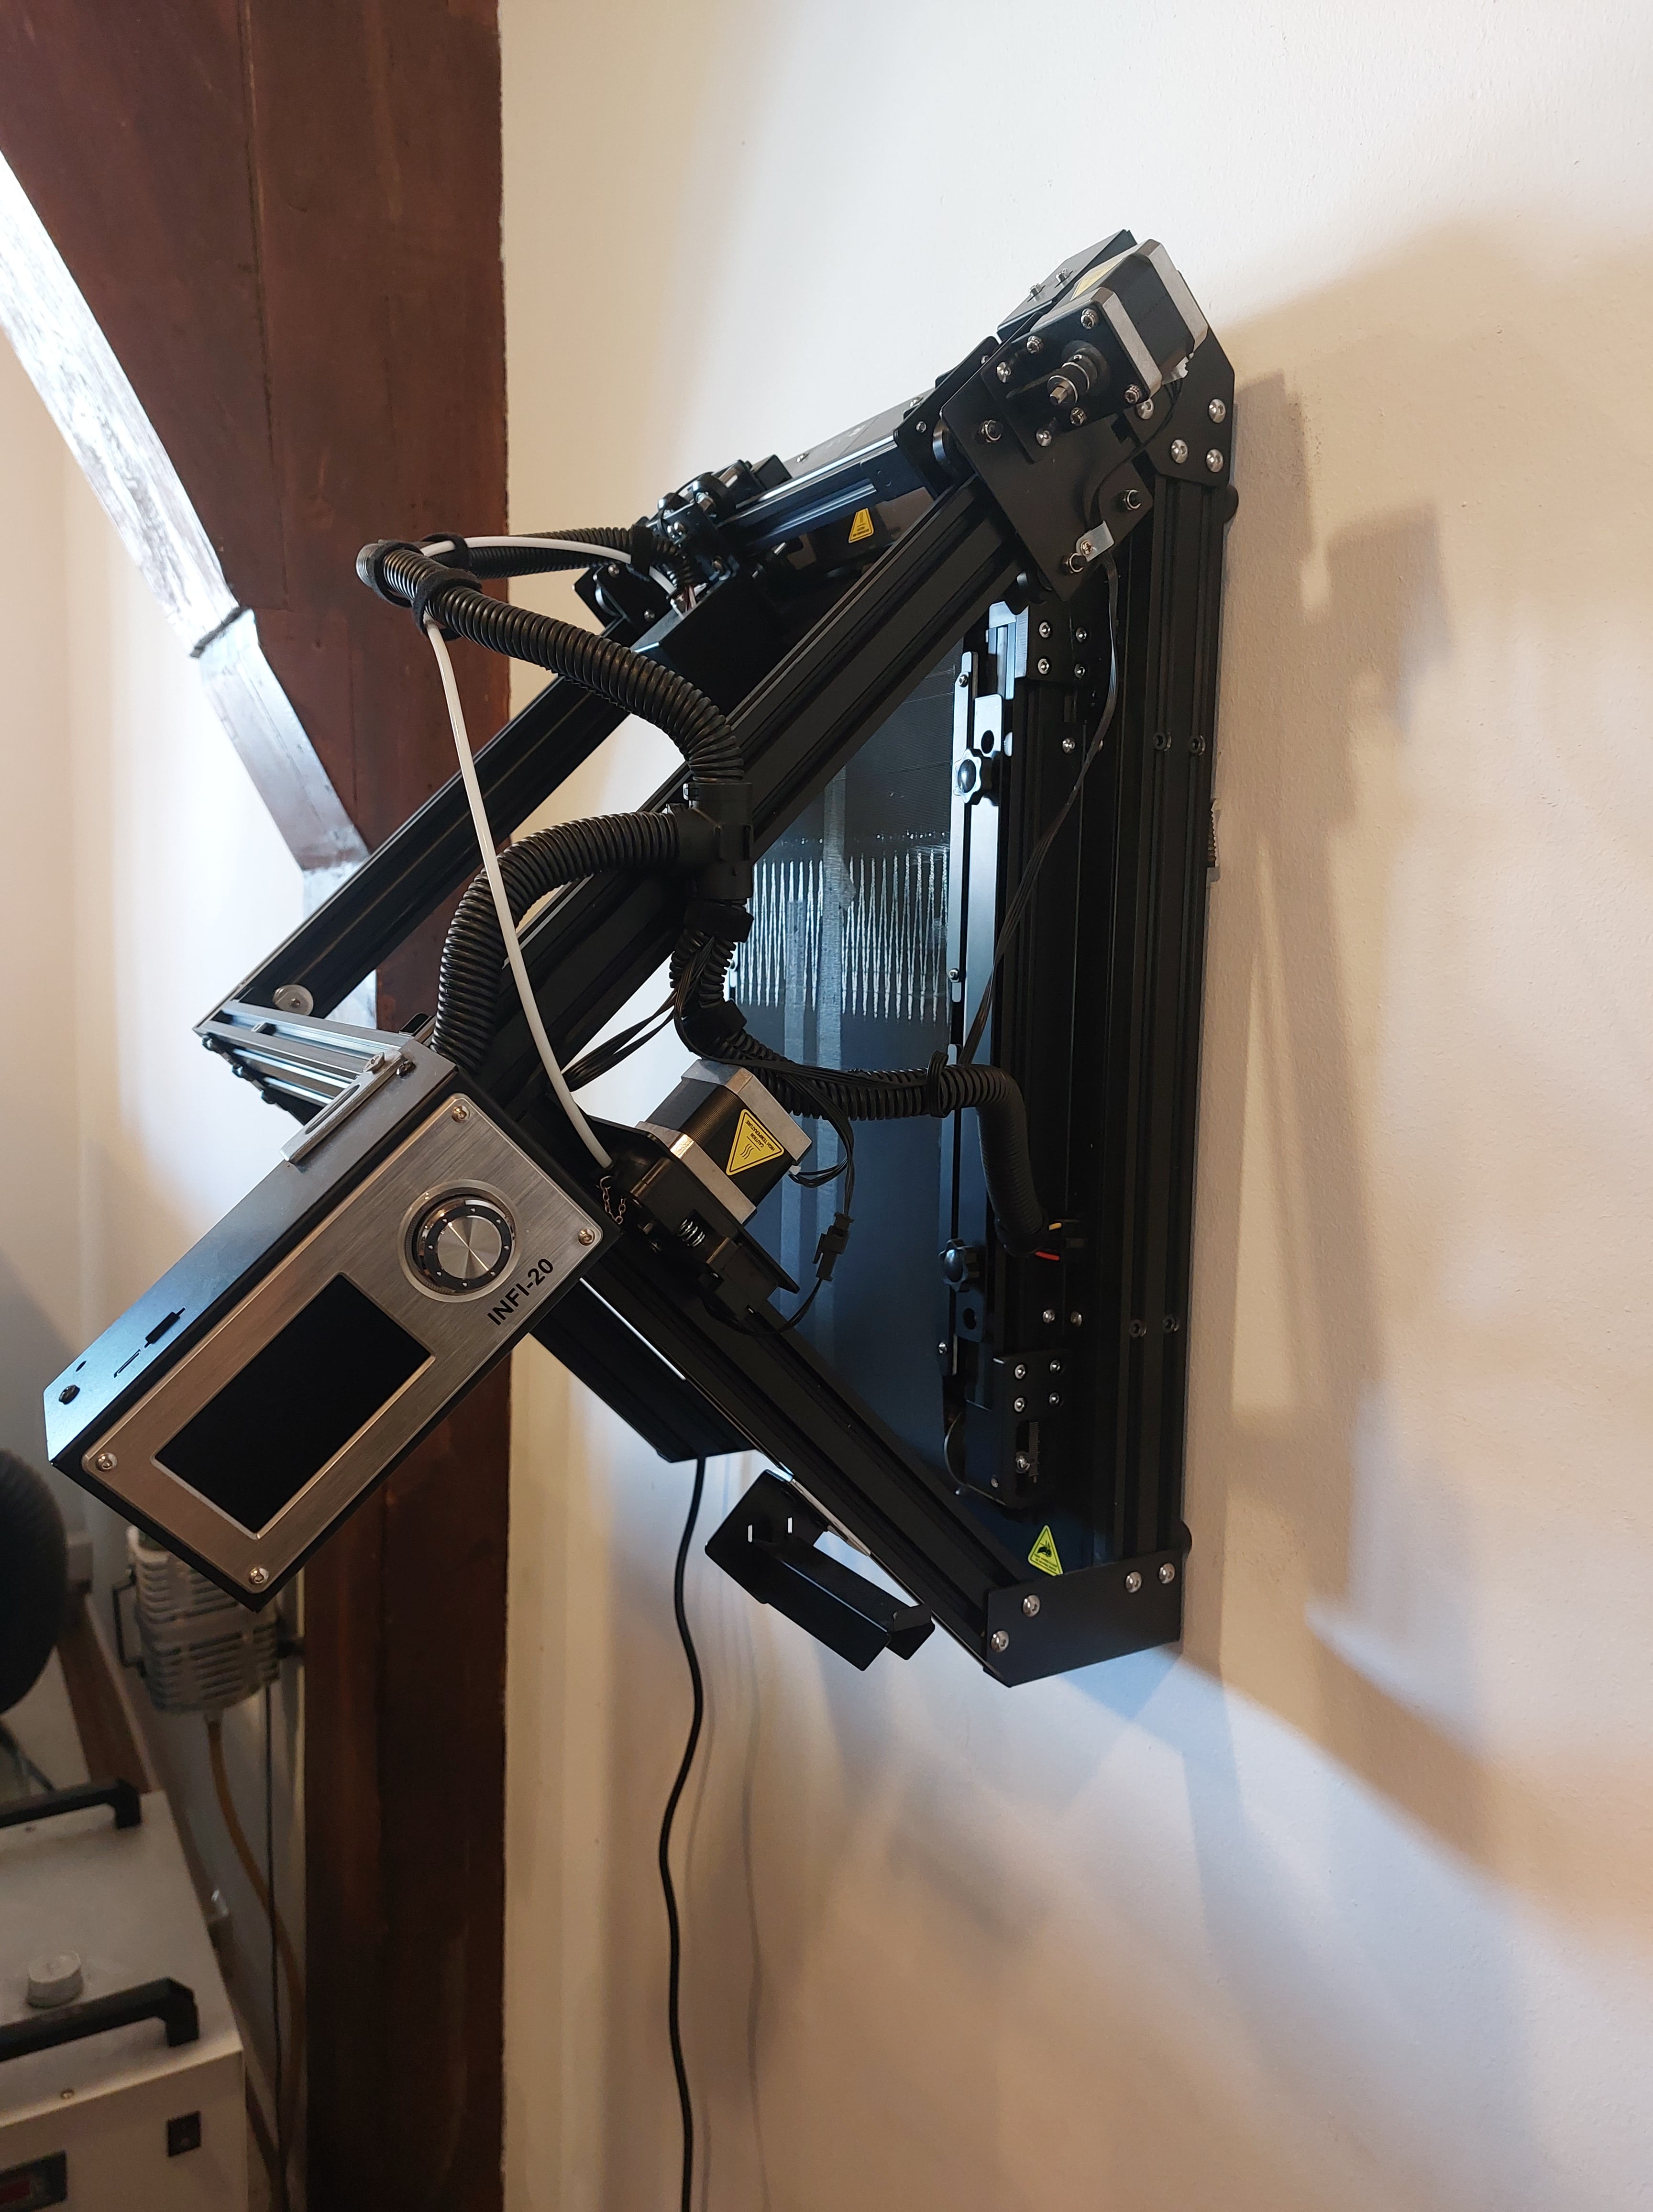
Belt printer
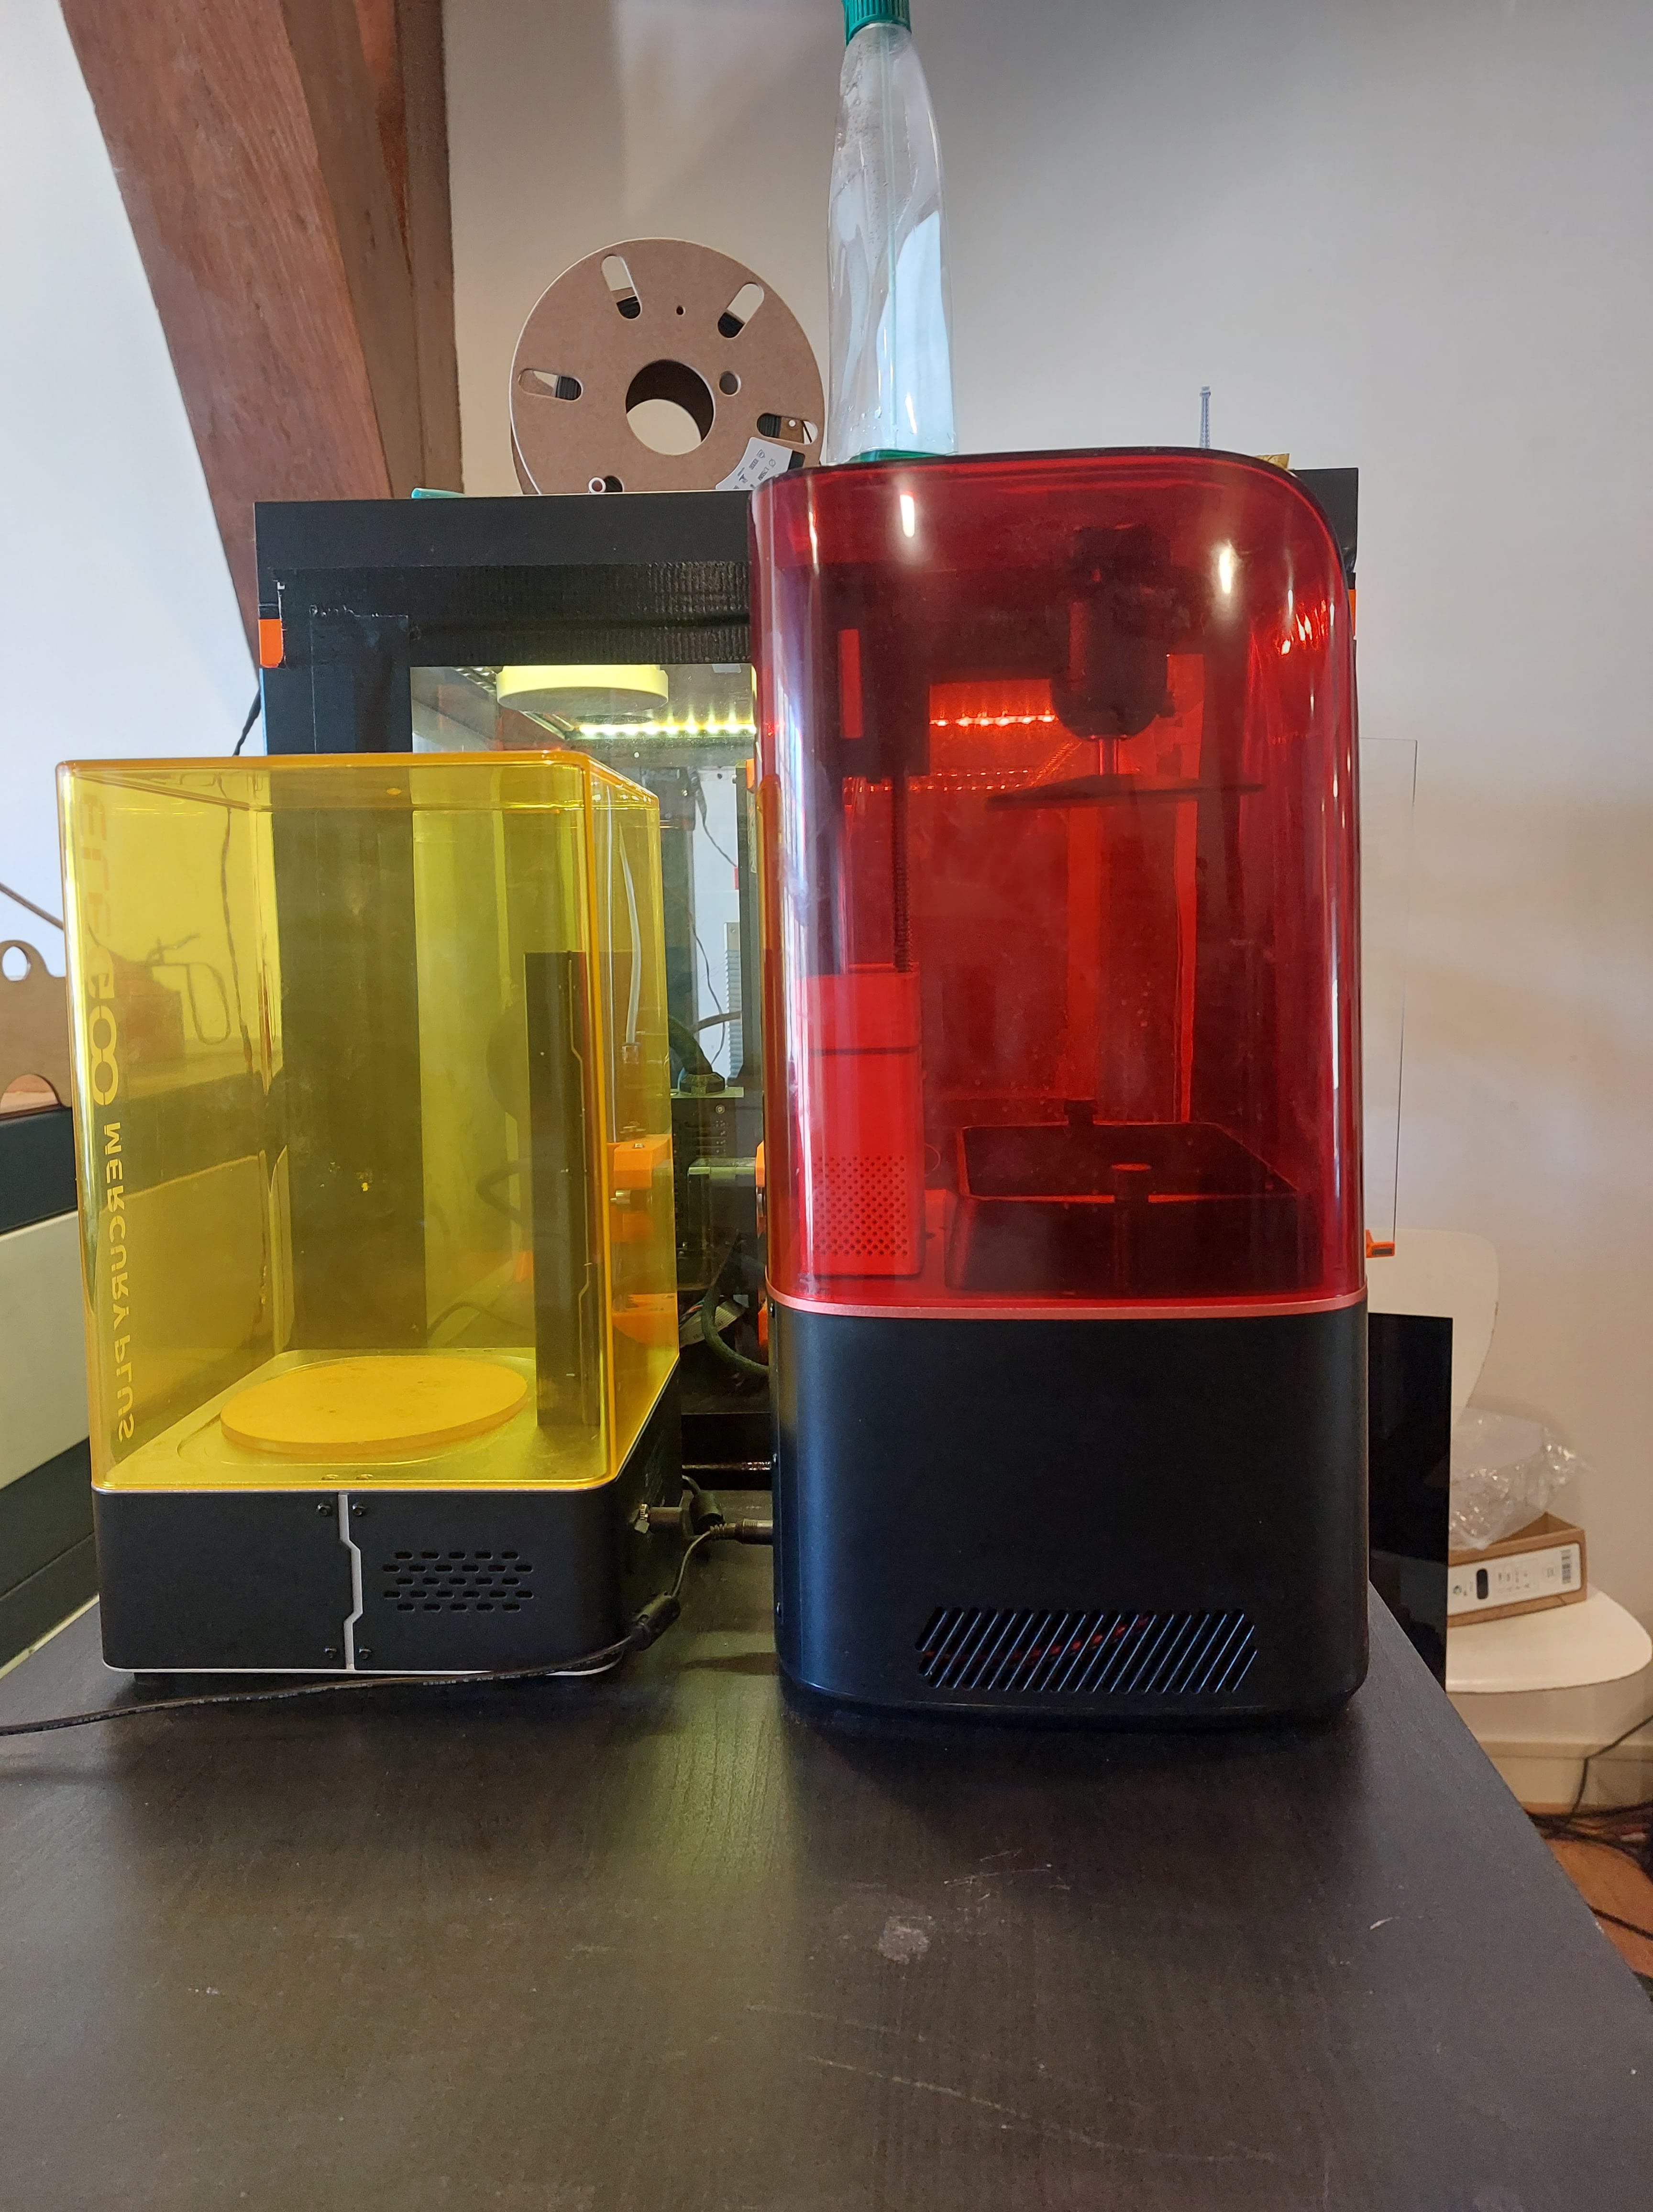
Resin Printer
On this page you can find instructions on how to work with them, work with their software and possible maintenance.
How to work with:
Prusa i3MK3S
Software: Prusa Slicer
- determining machine settings
- converting your 3D design file to gcode
- download here
USEFUL LINKS:
filament support : https://all3dp.com/2/prus-slicer-support-settings-tree-supports/
WITHIN SOFTWARE
-
Open Prusa Slicer
-
Within the software, open your obj or stl file
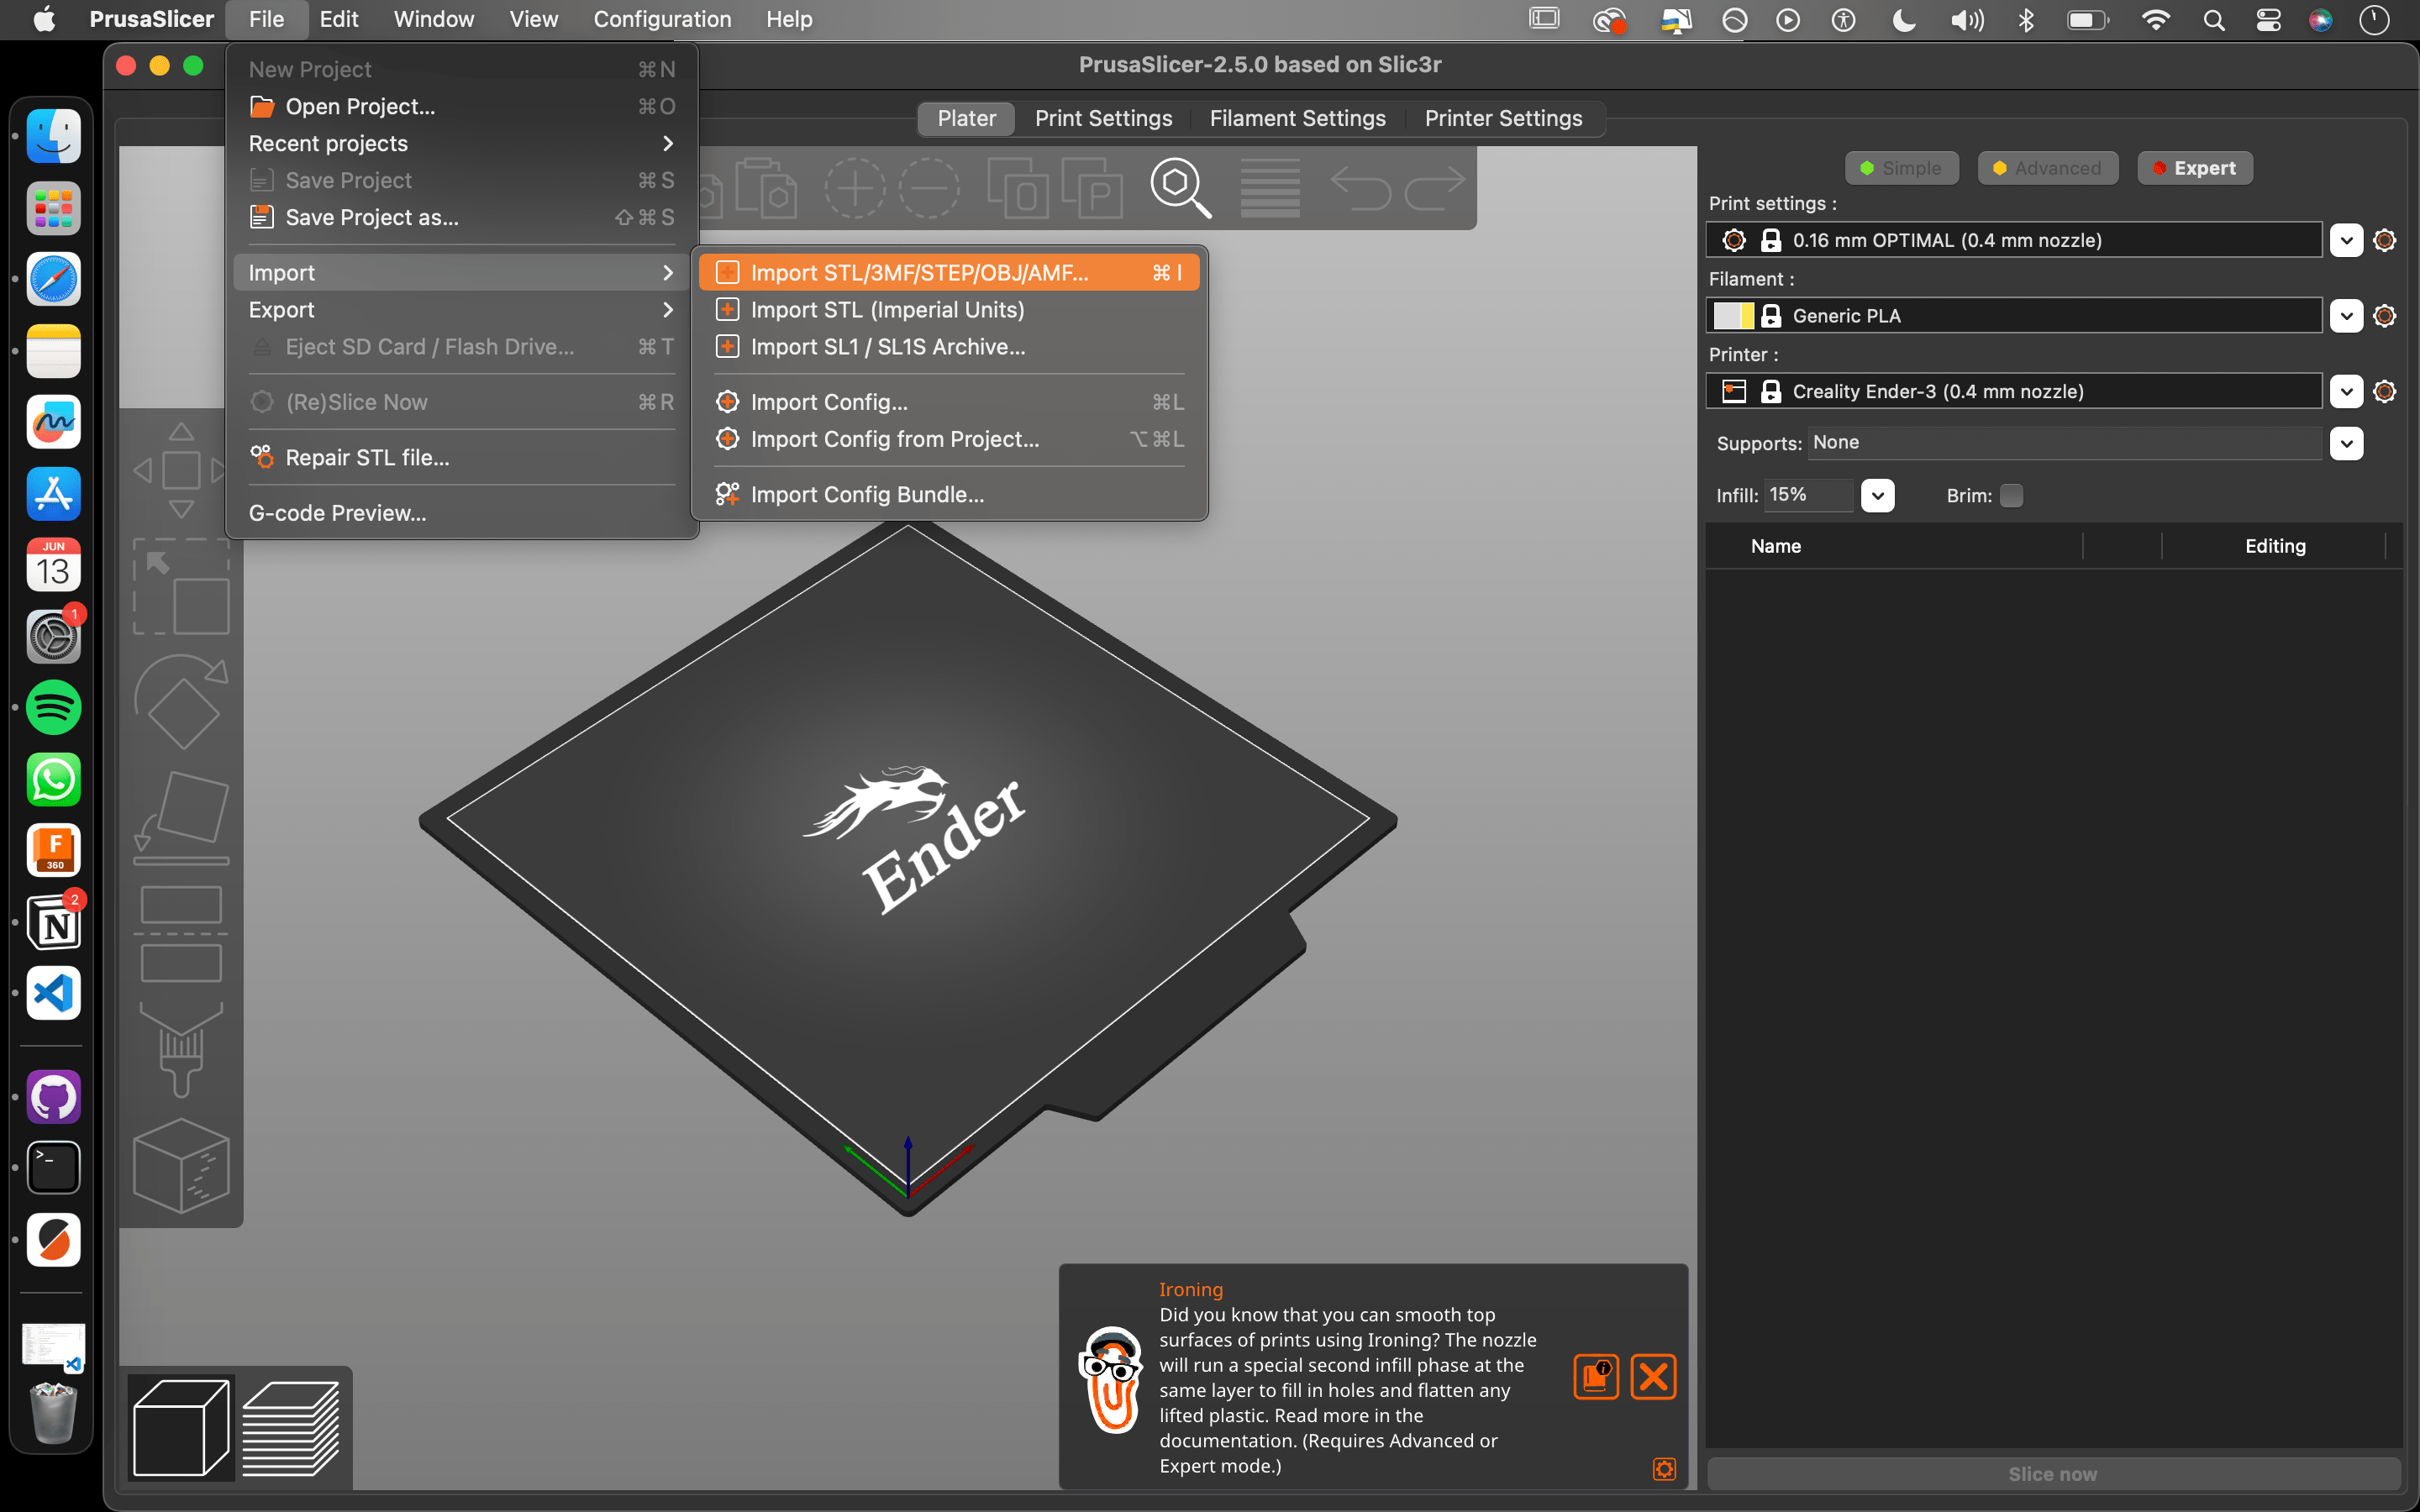
-
Navigate to the PRINTING settings, and go to the EXPERT version of these settings, (can toggle between different options on the top right corner)
-
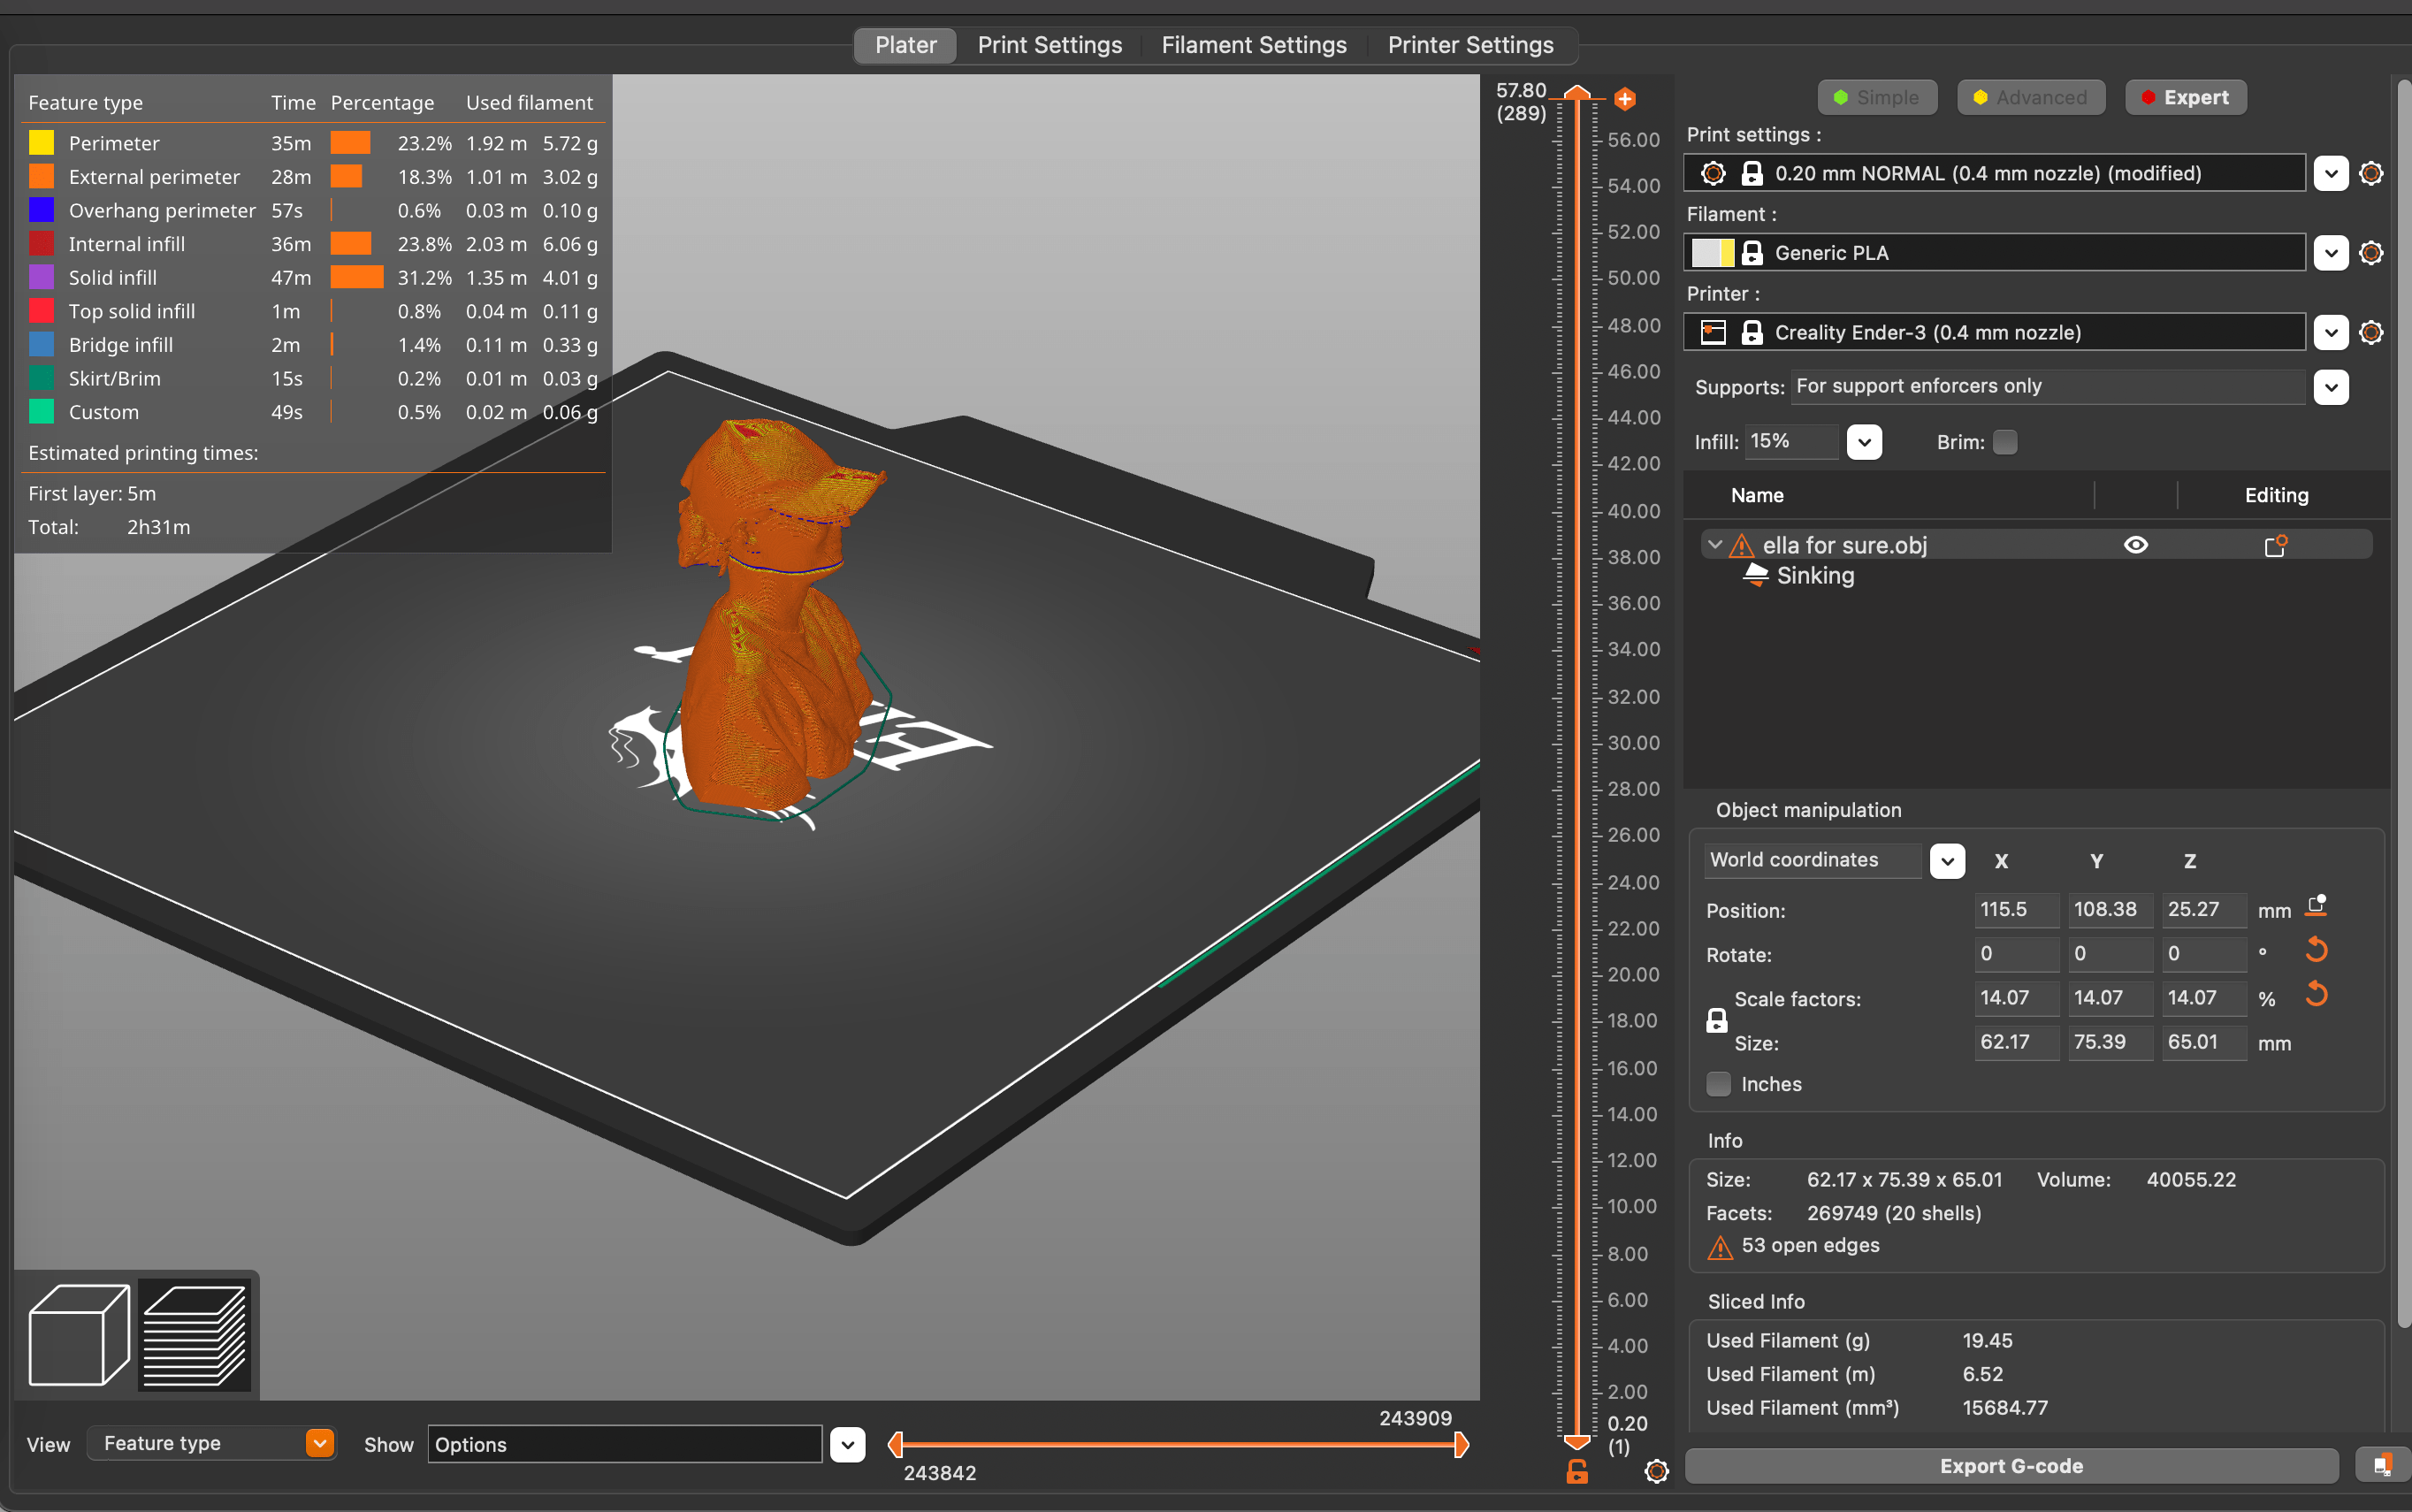
There are a couple of elements to check:
- the layer height : this refers to the thickness of every layer that will build up to your model. A lower height will offer more detail but will take longer.
- choice in filament : on the box of your filament, details and description will be shown.

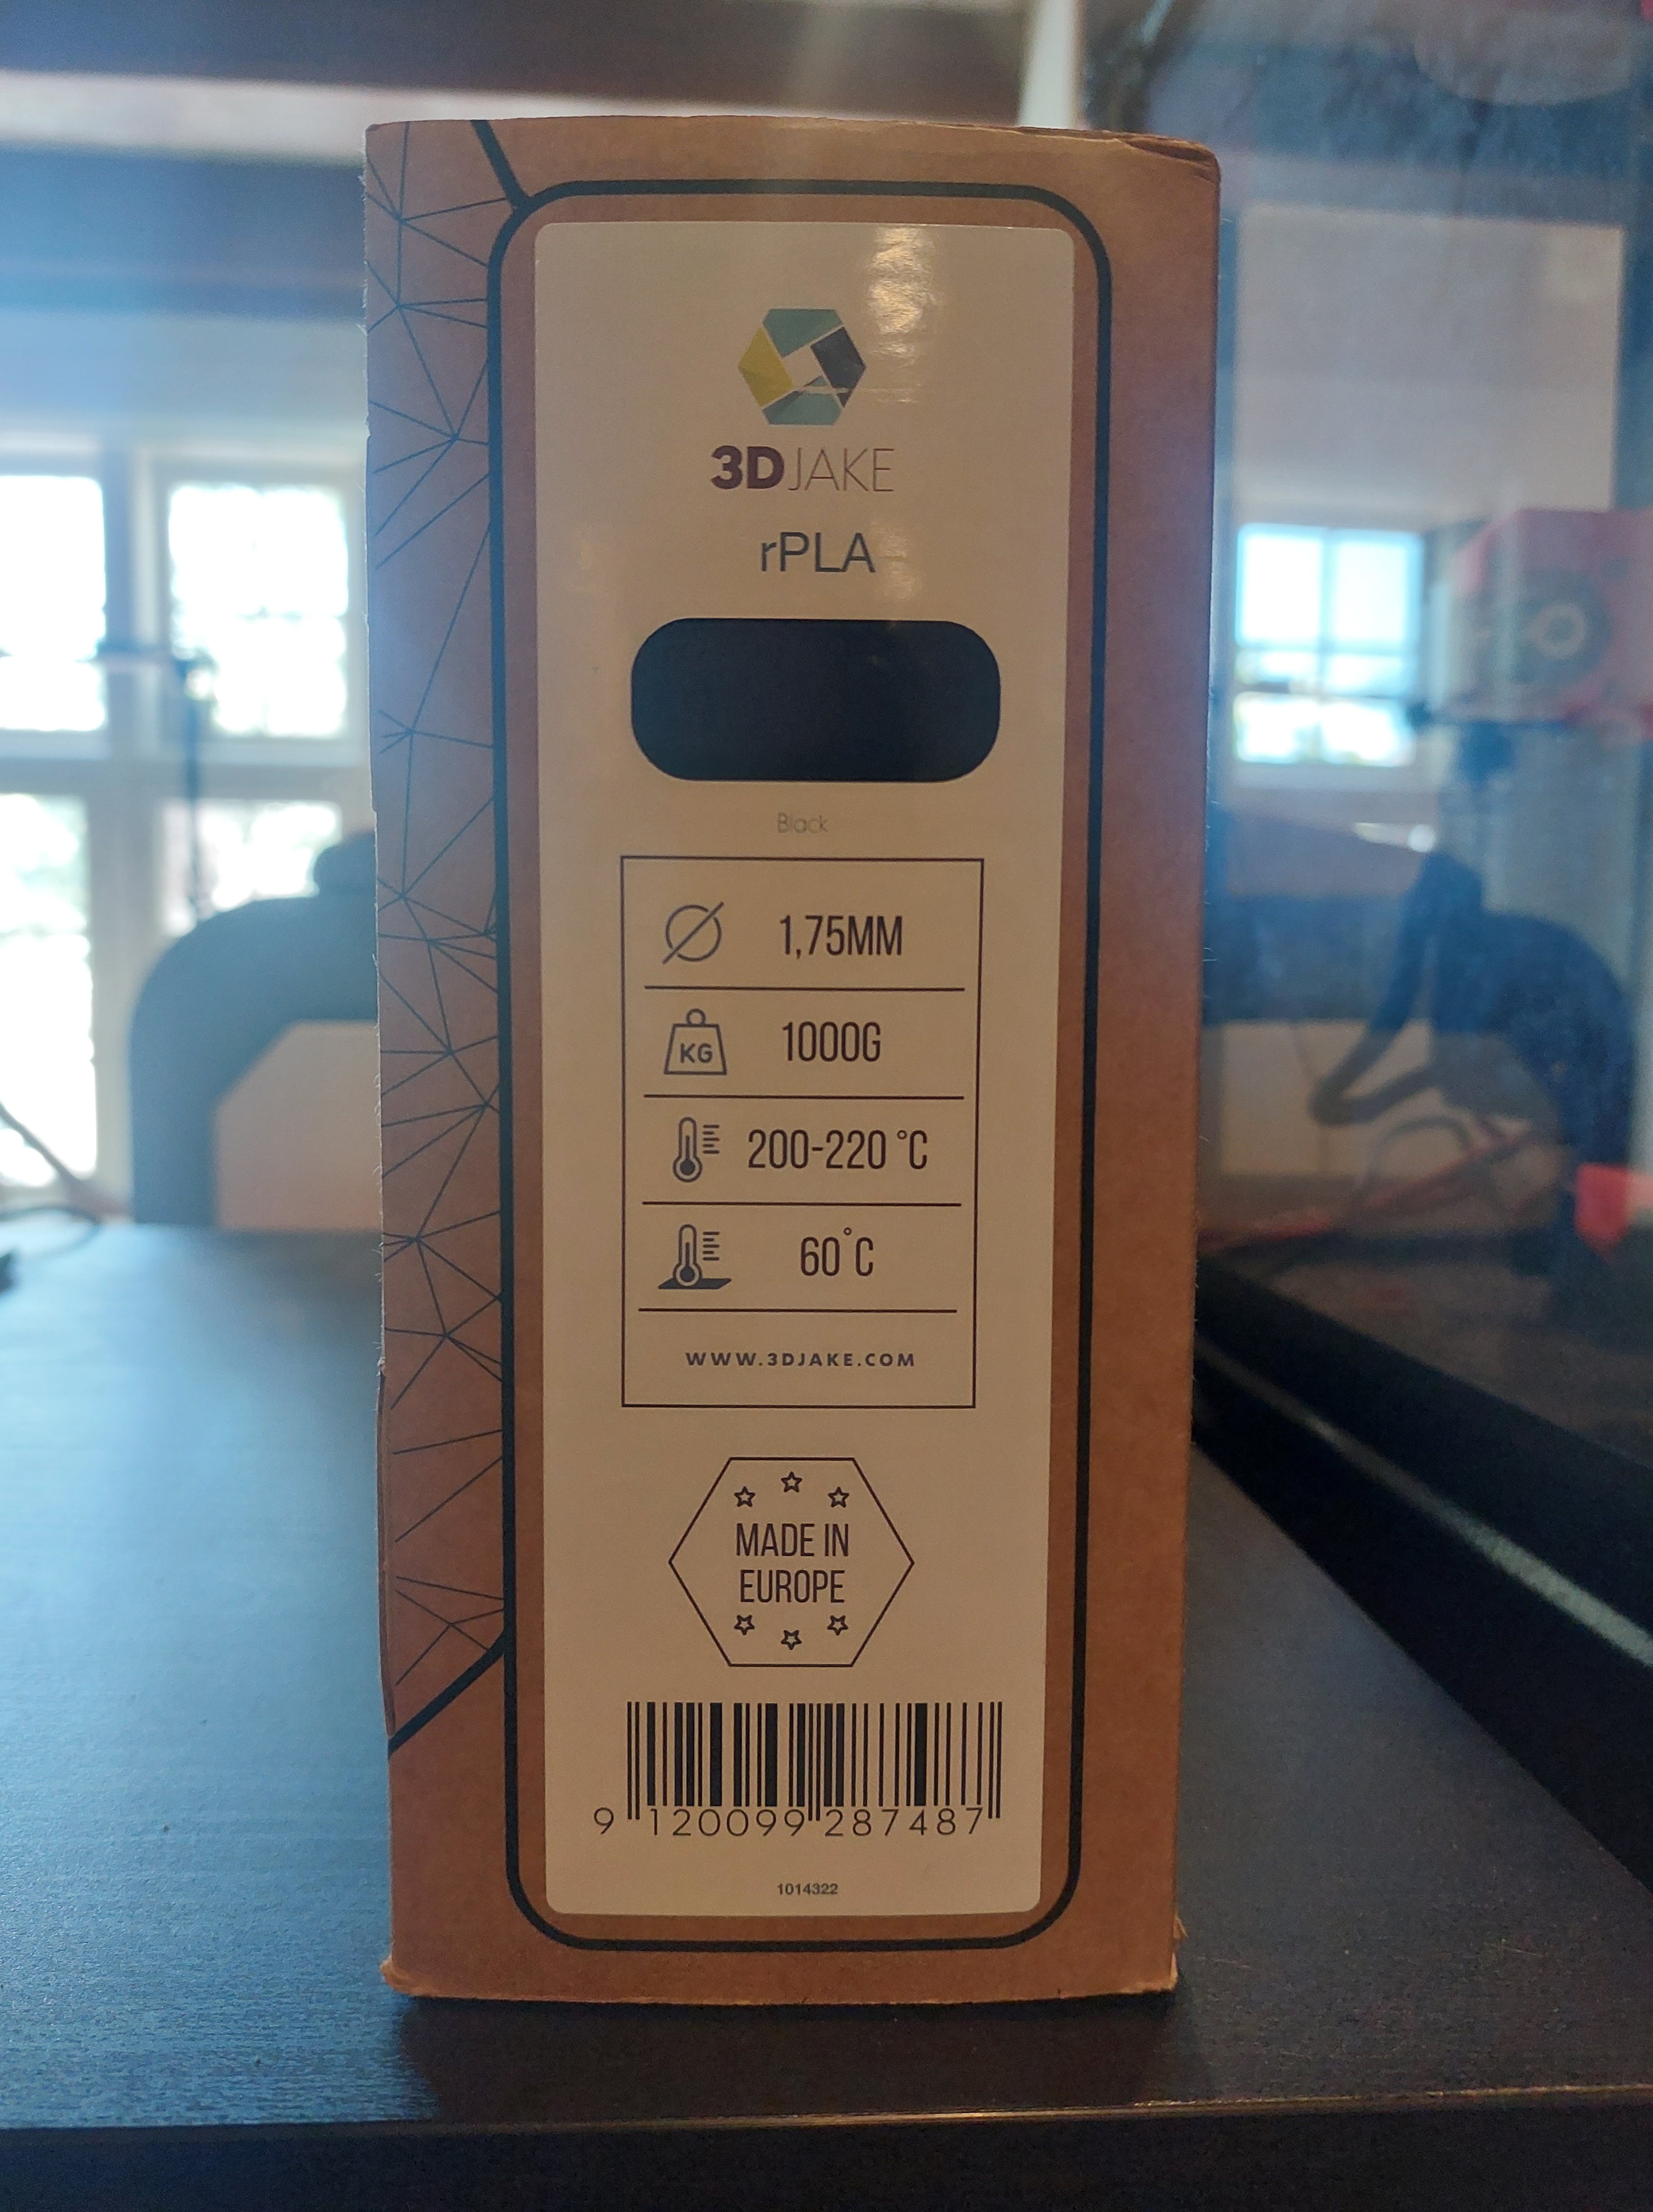
-
What printer you are using : our machine is Prusa i3MK3S
-
Infill : this is the material support within your model, so the amount and pattern will determin how hollow or solid your model will be printed
-
Nozzle temperature
-
Bed temperature
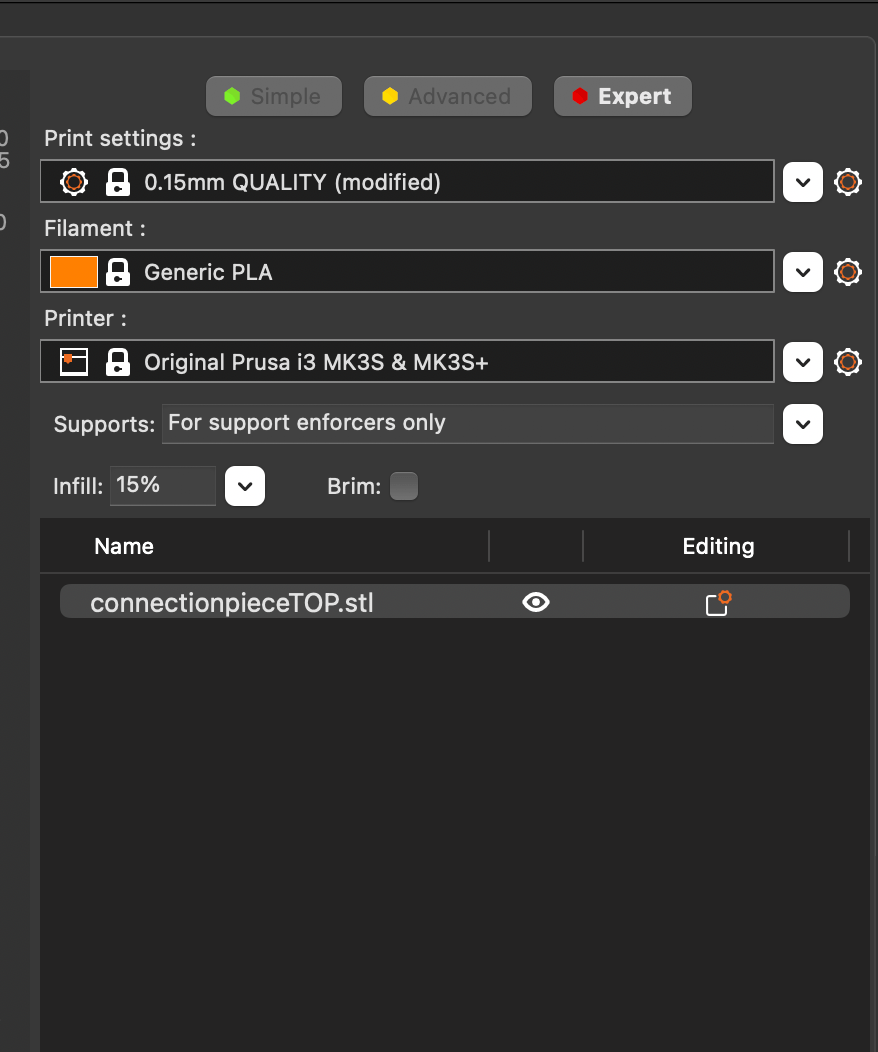

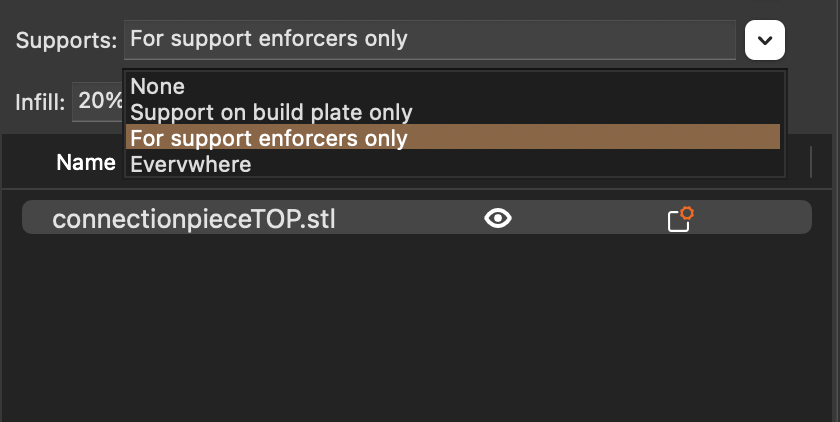
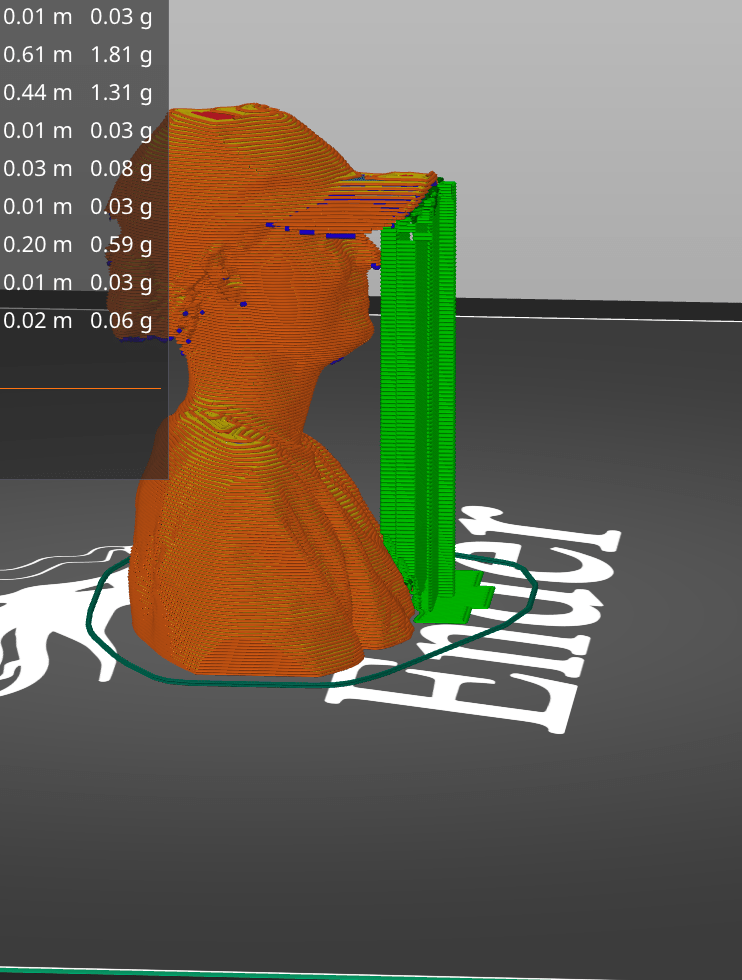
- If there are overhangs, look at the design and see if it will need support material.
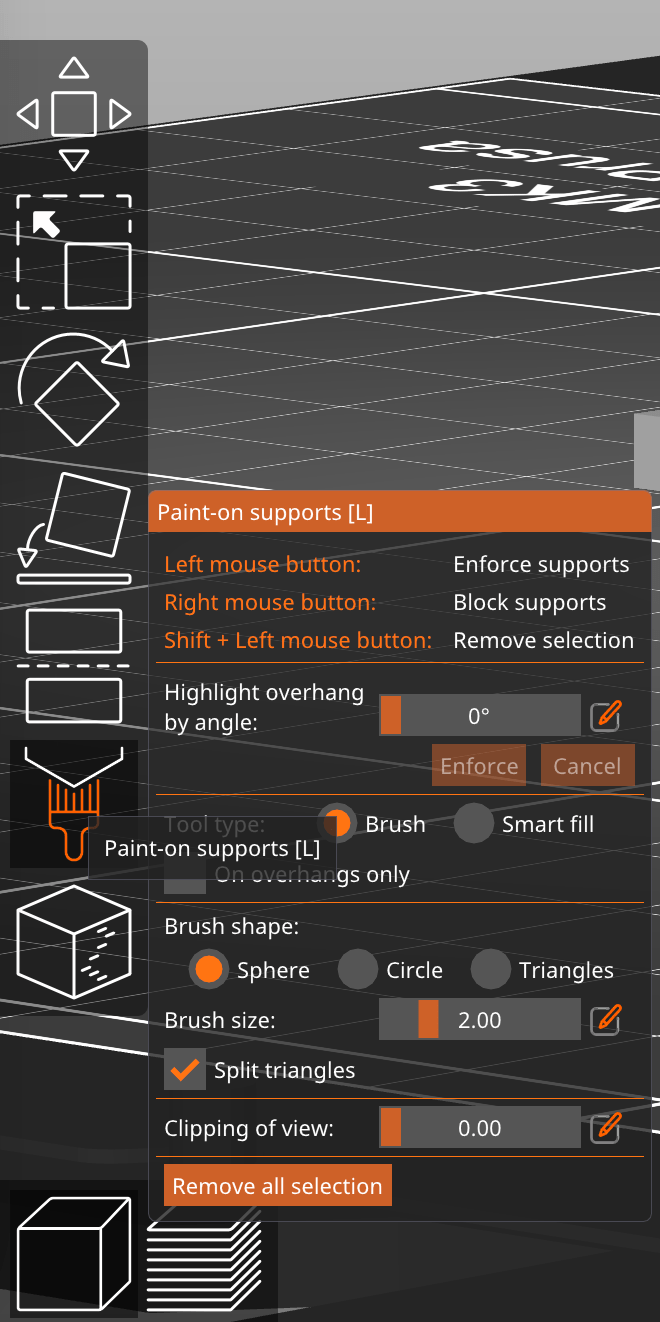
- You can specify where this support material is printed by choosing support enforces only found in the drop down menu supports in the right toolbar.
- Then you can use the paint-on supports tool in the left toolbar to define where you want the support.
AT THE MACHINE
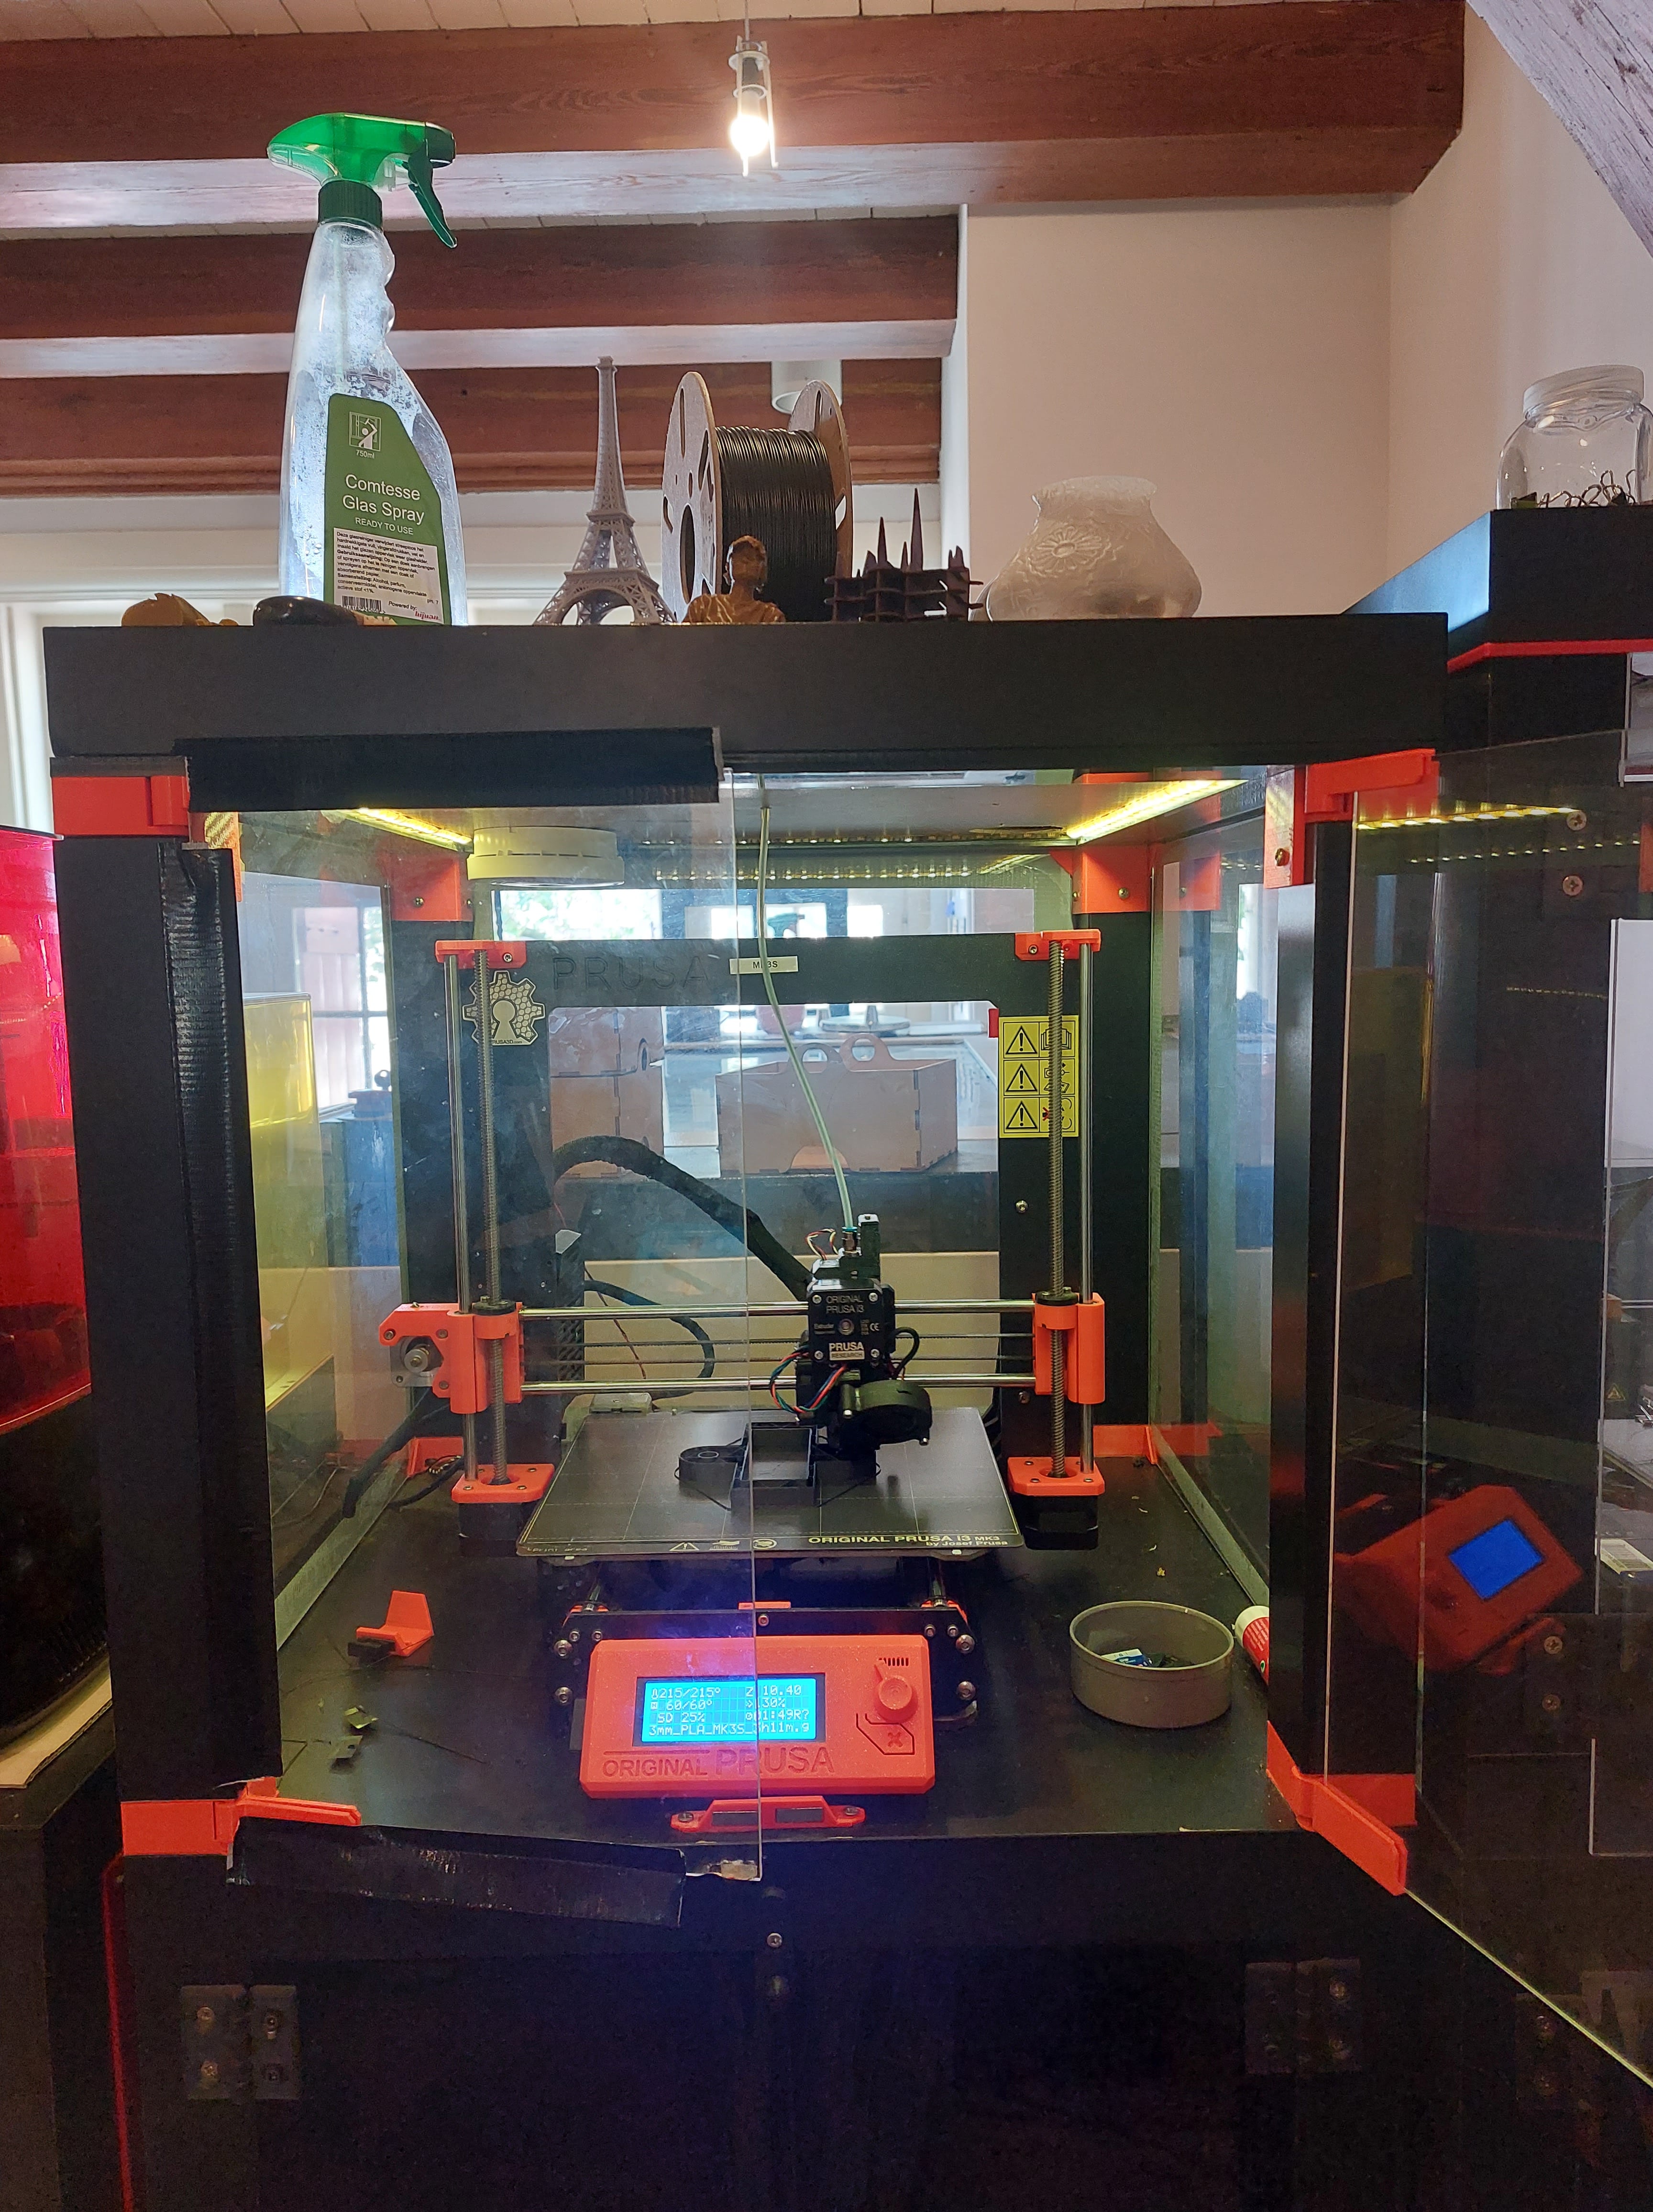
- Turn on the machine at the back of the station.
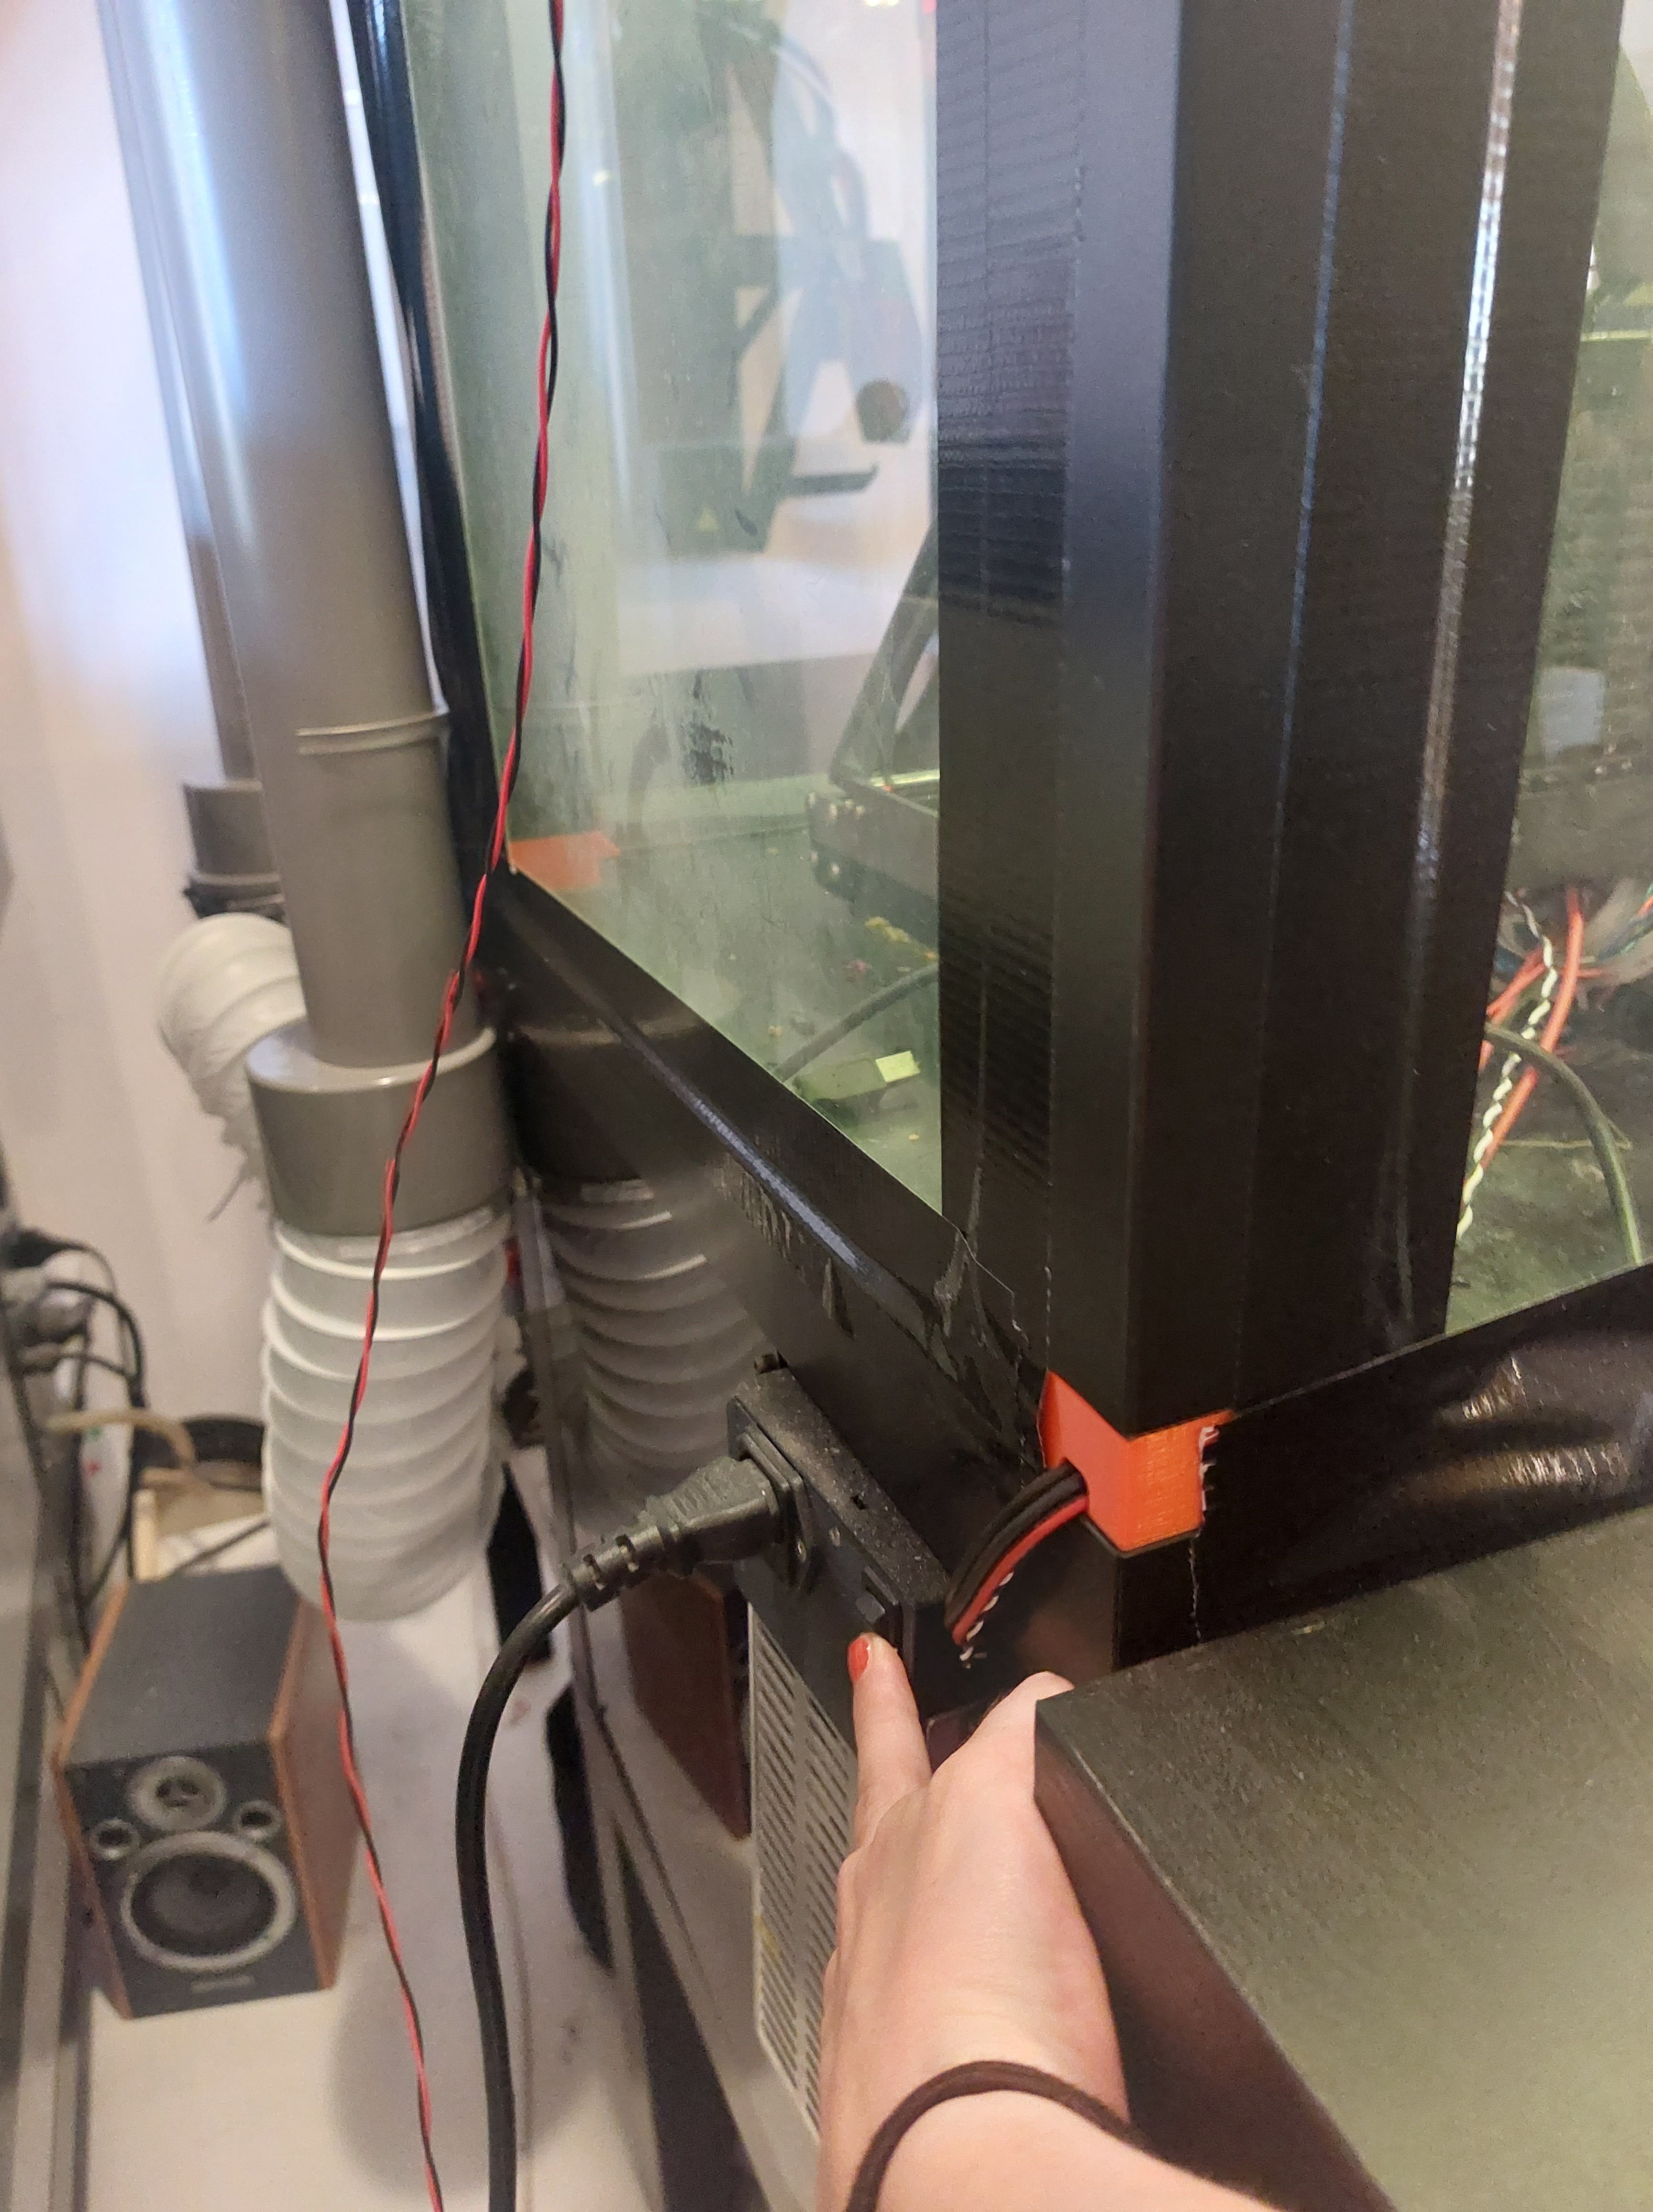
The interface is simple to use and control with the knob at the right of the screen. It looks like so:
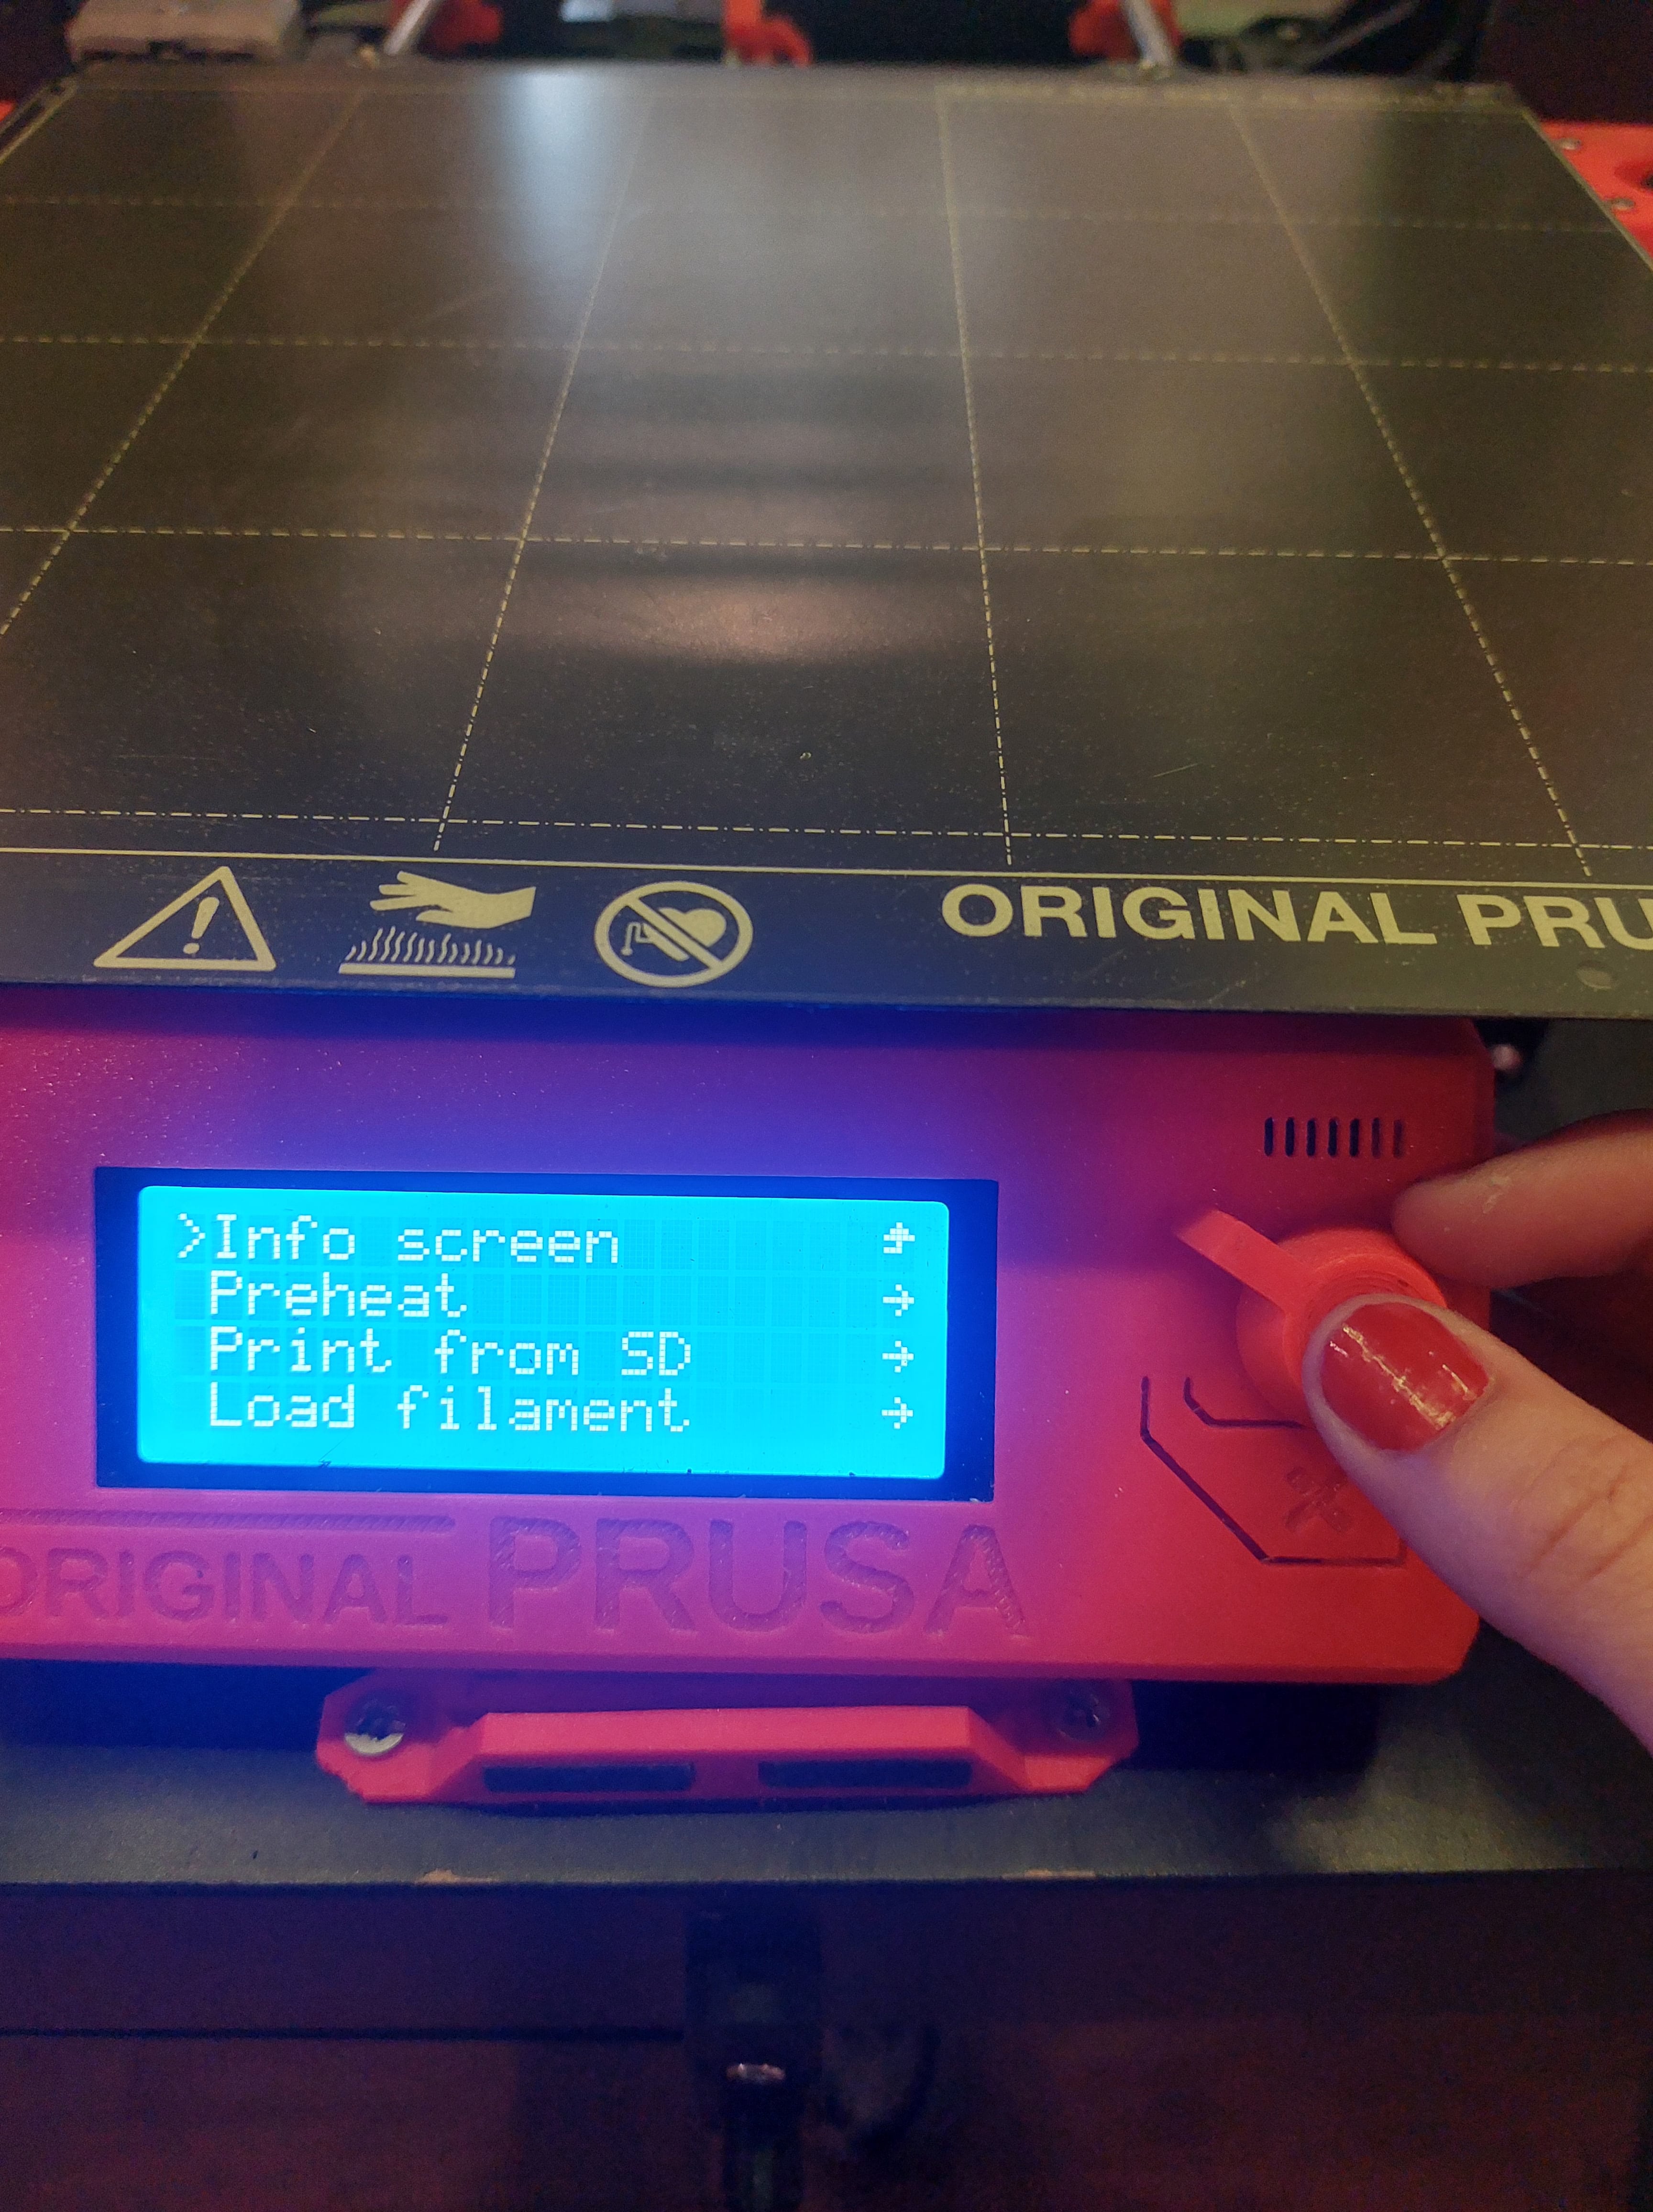
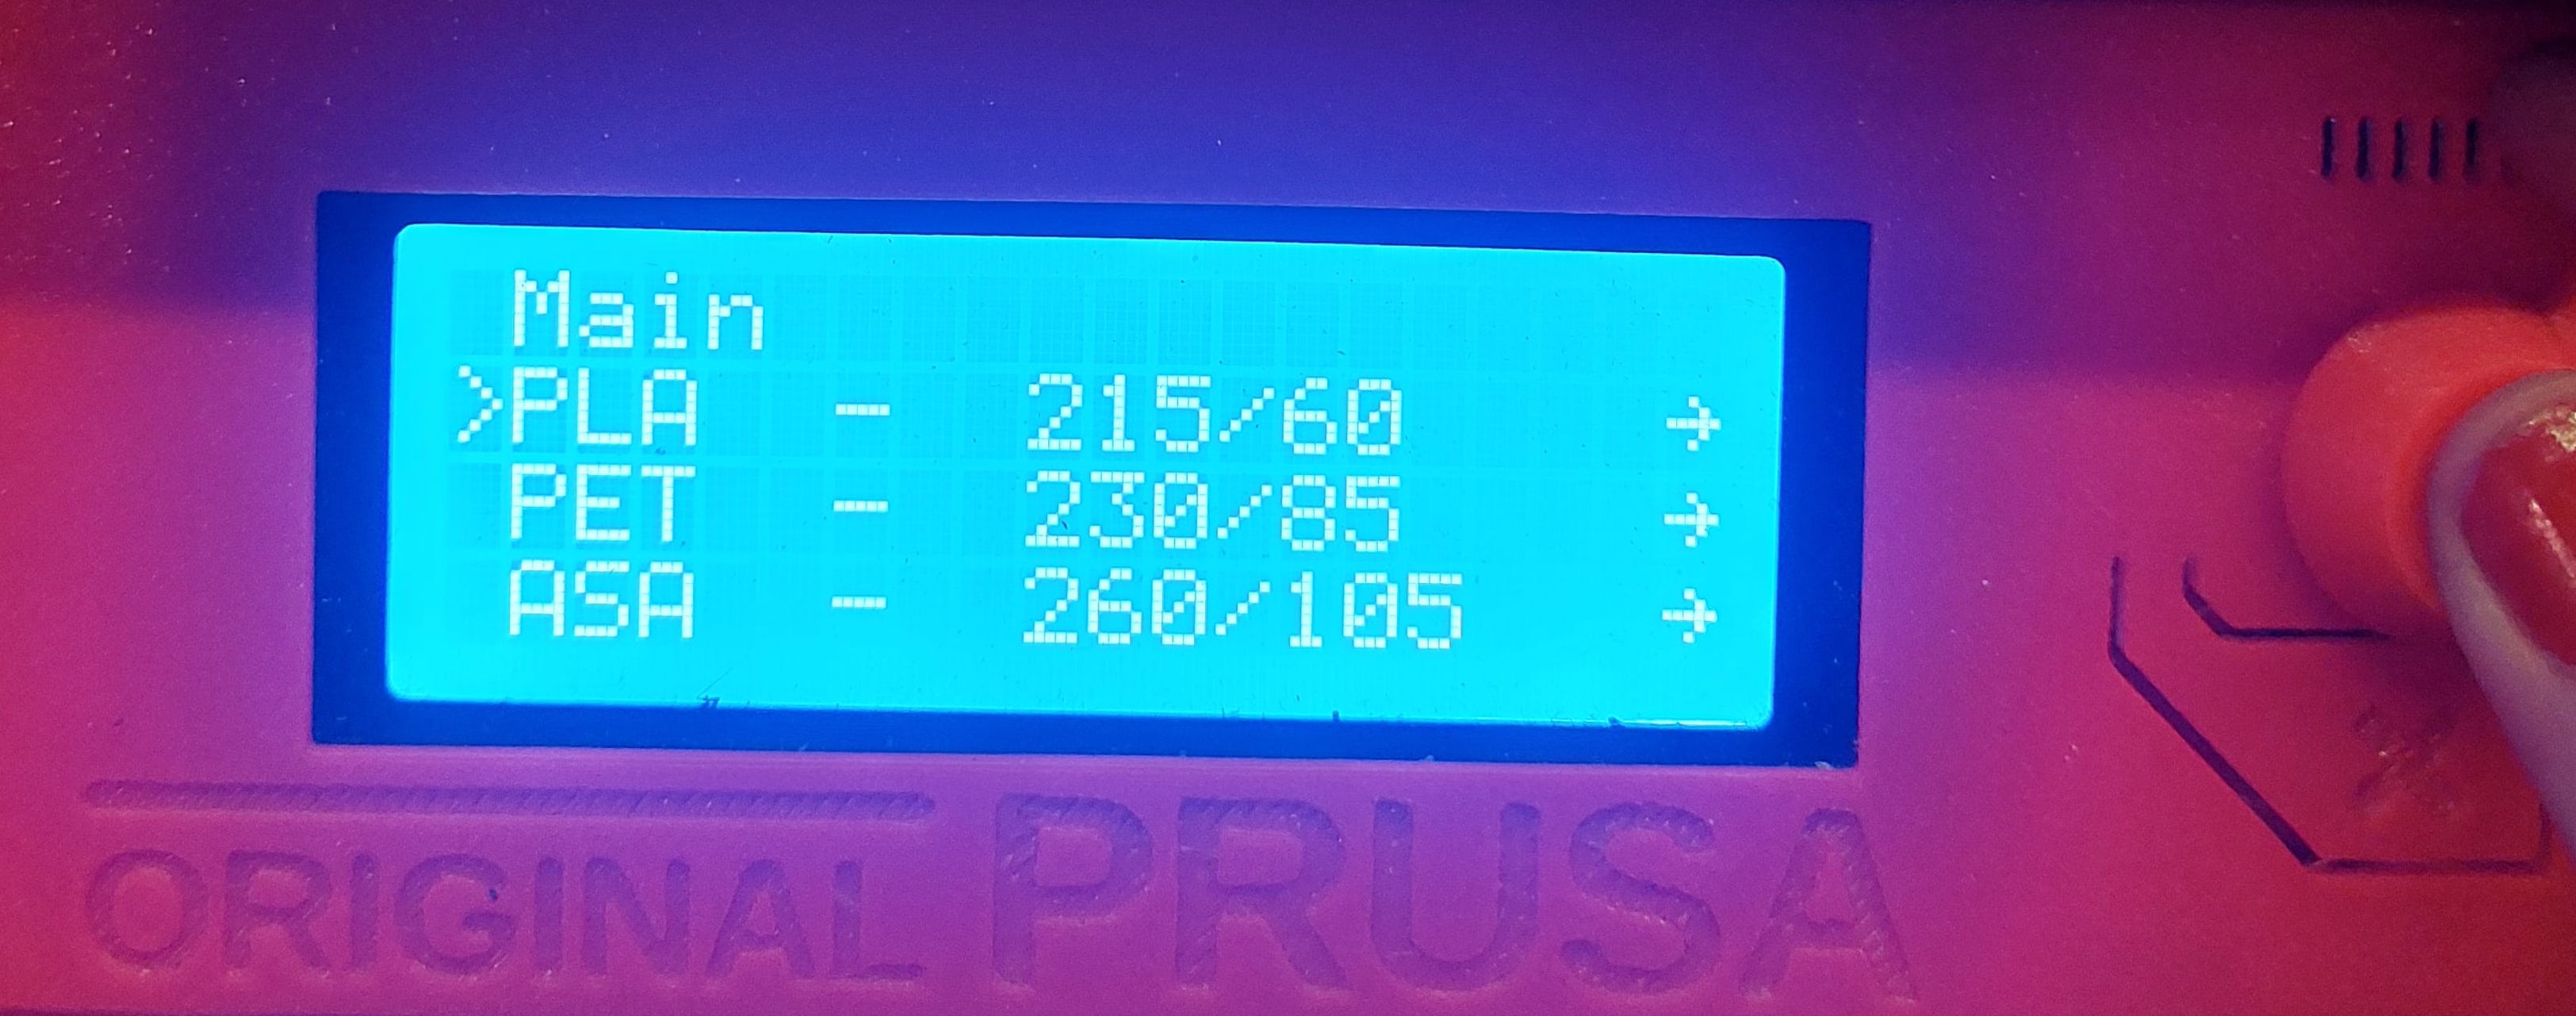
- PREHEAT PLA filament
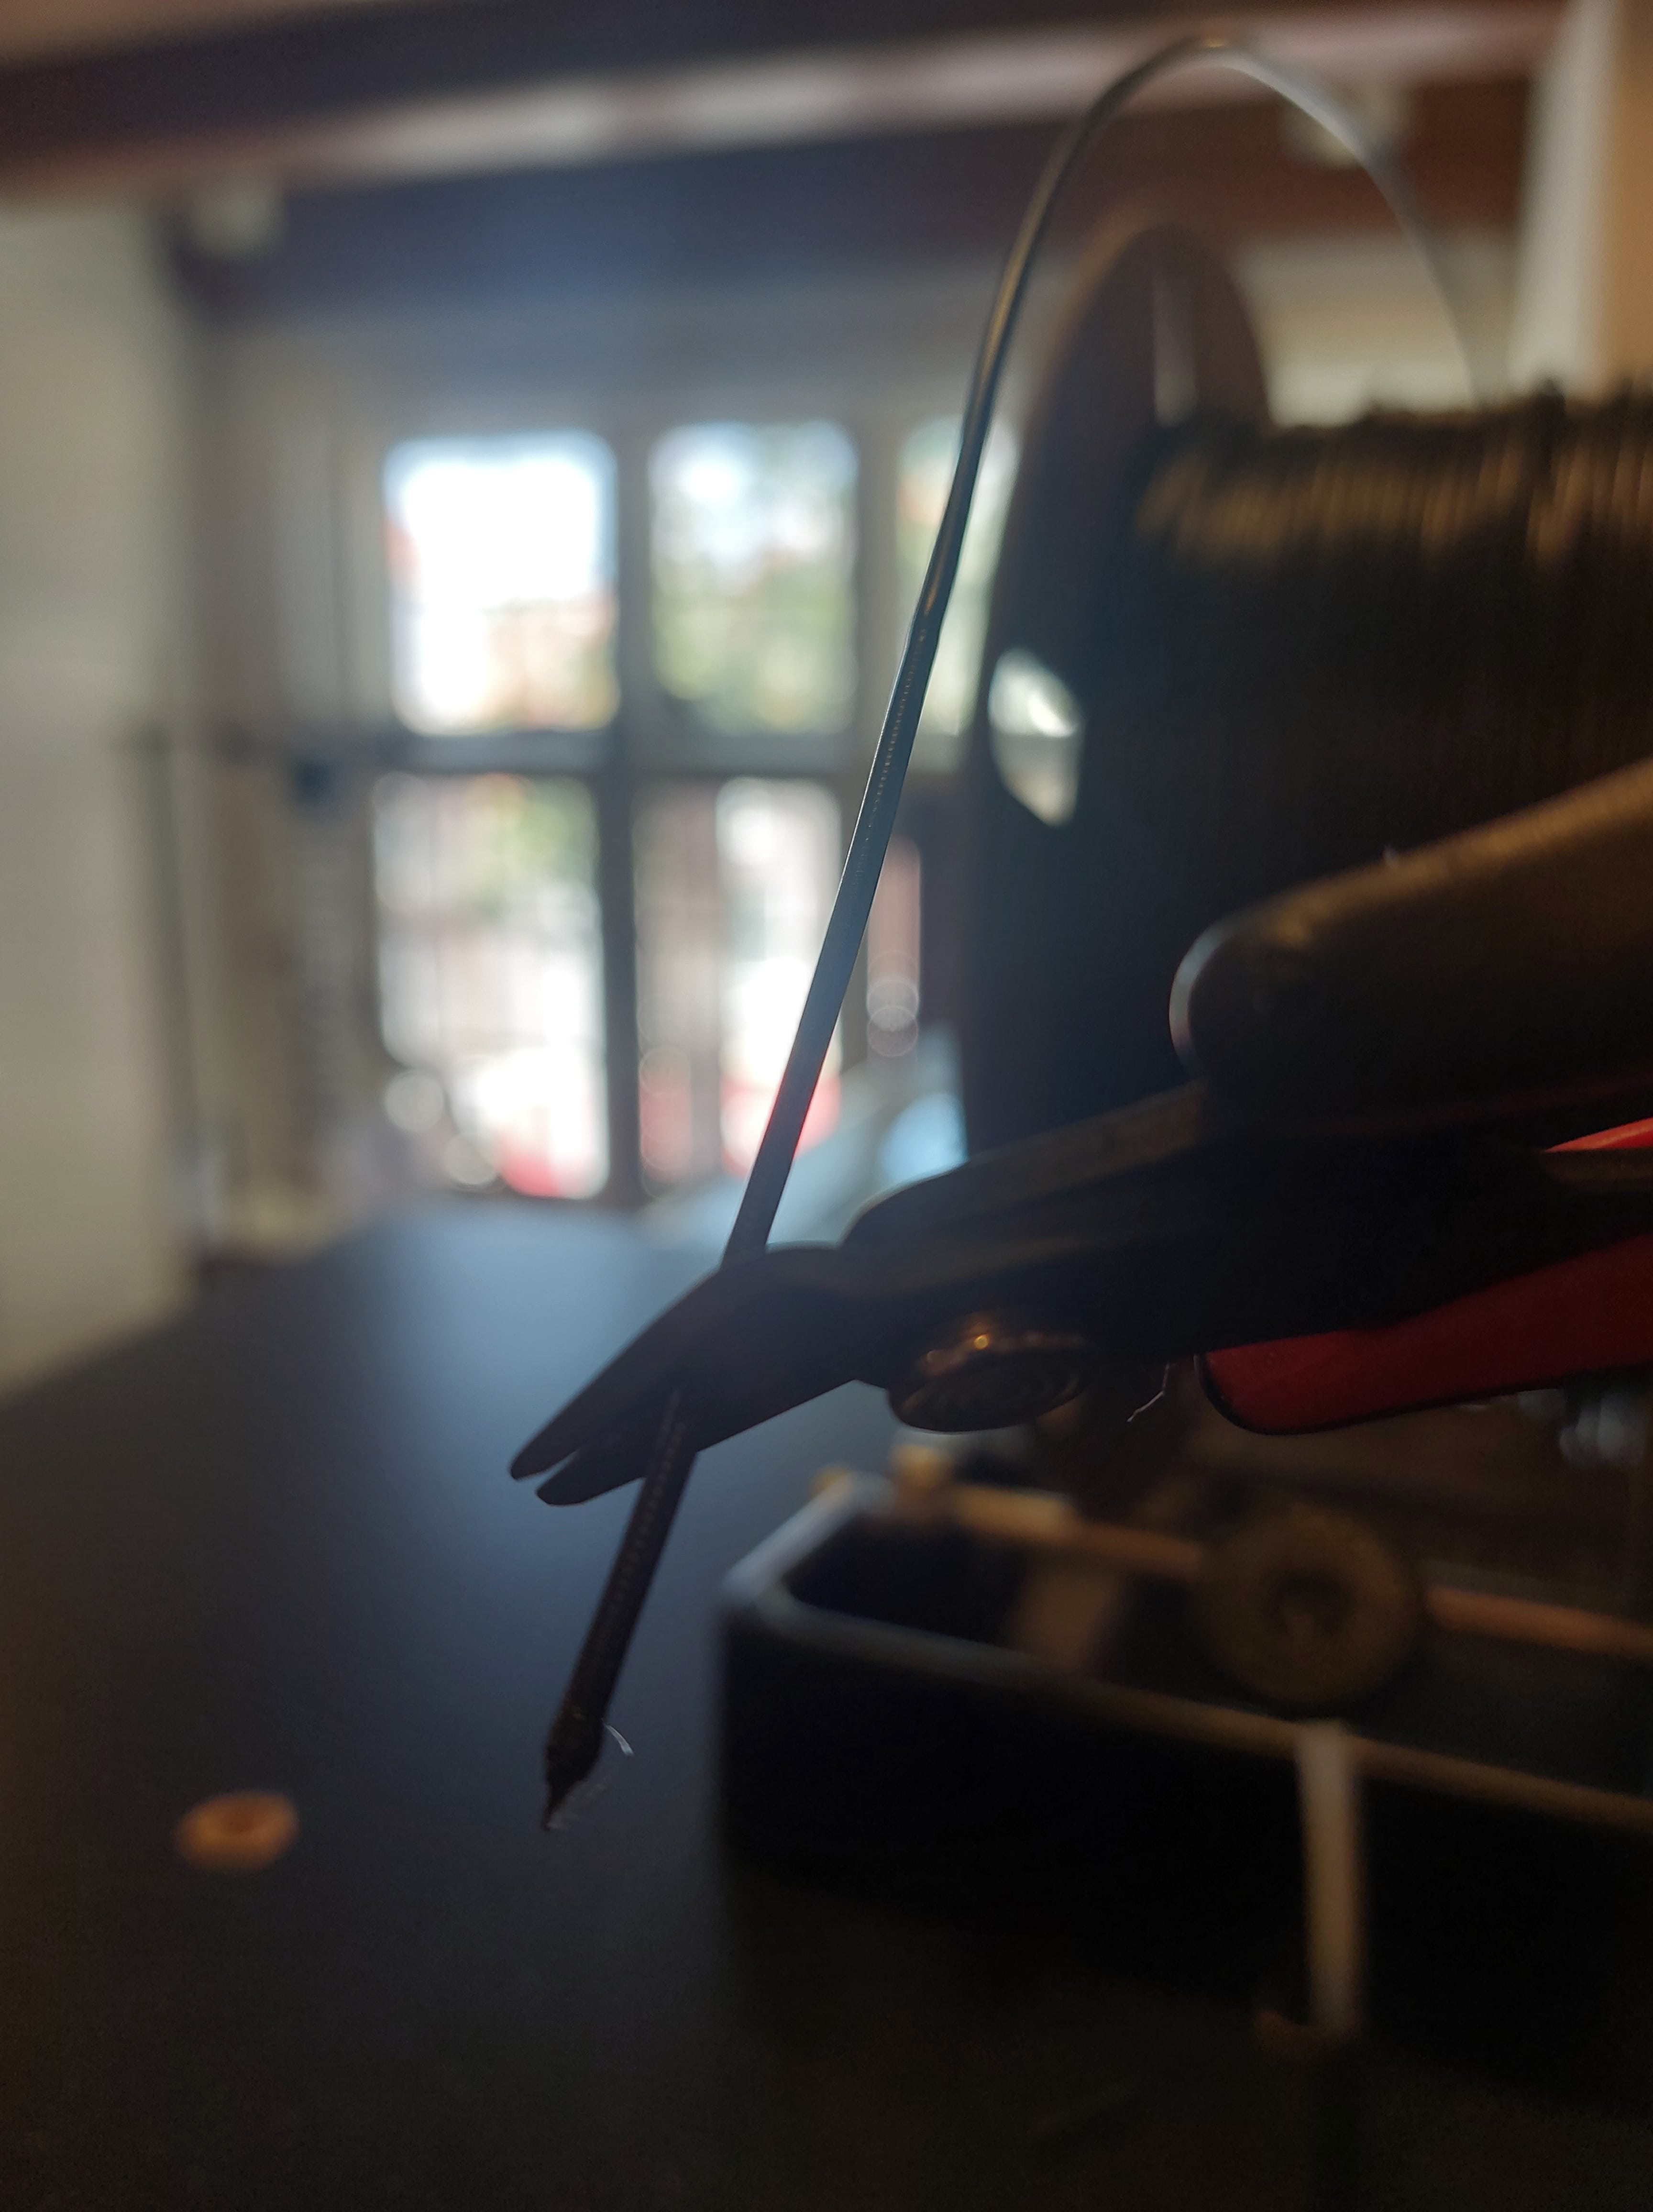
- LOAD FILAMENT
Grab the filament you chose prior. Follow the instructions on the screen. Before feeding it into the tube, cut the end at a diagonal angle so it is can be fed smoothly and there is no string left from prior use.
The machine might start calibrating its x and y axis. It would look like this:
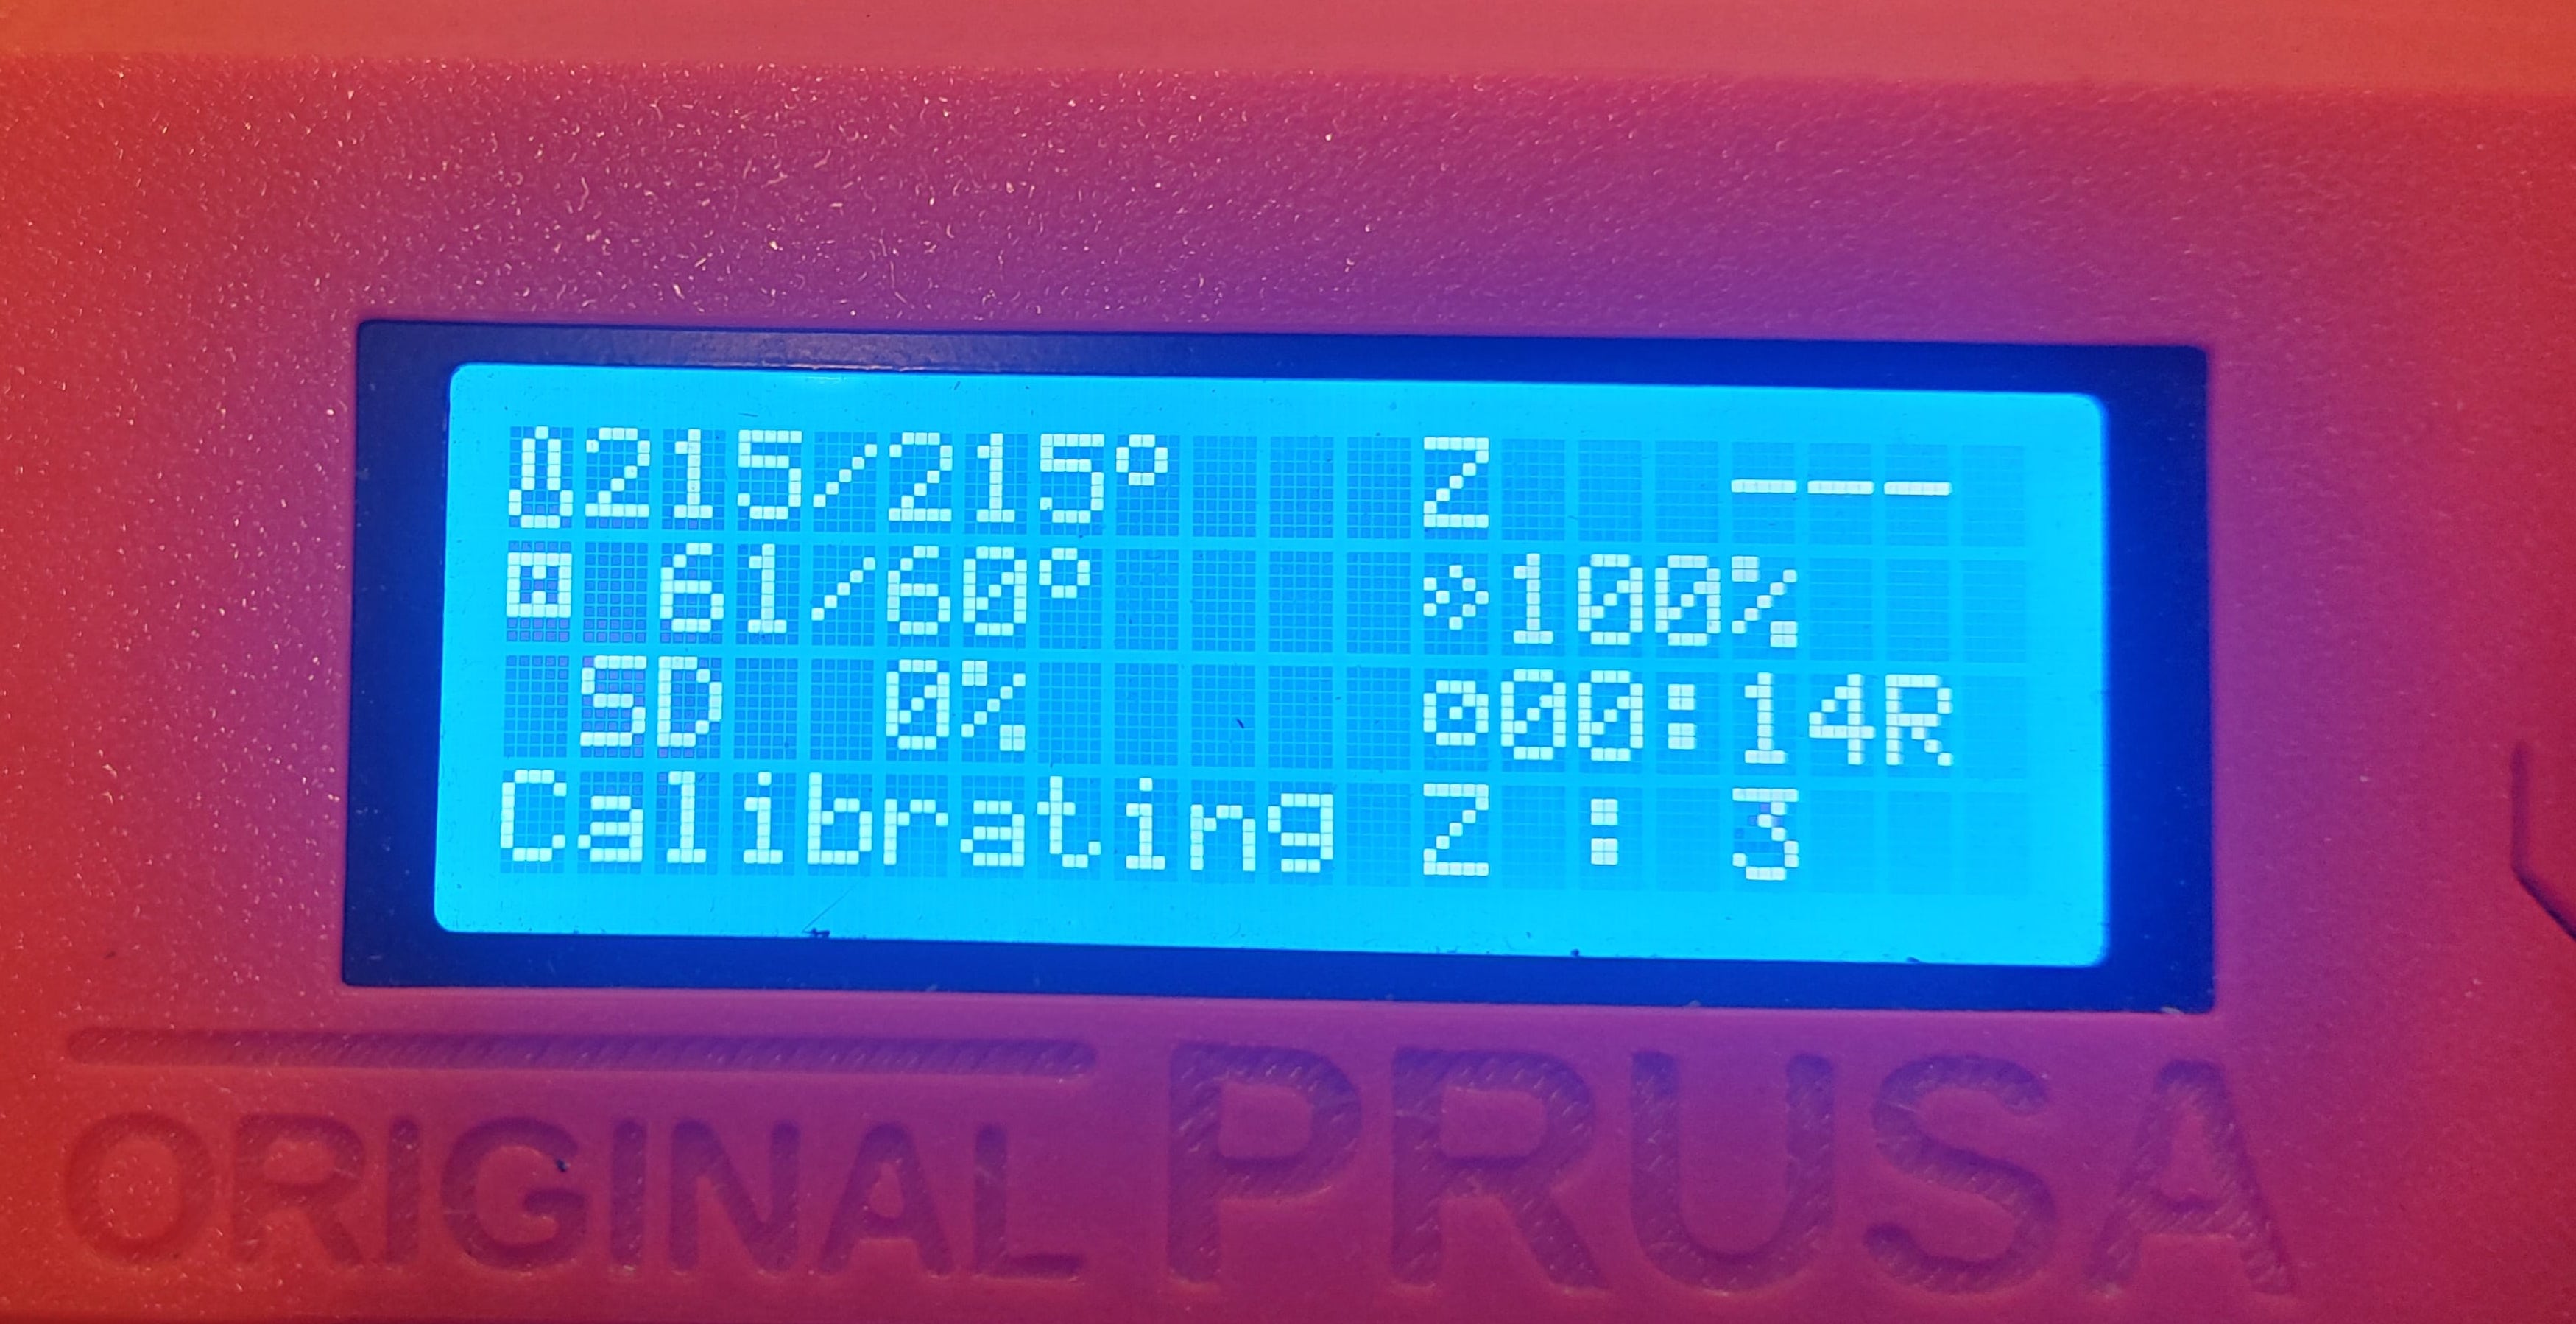
Give it a couple of moments to do so. You don’t need to do anything.
-
Print from SD card
-
Start print
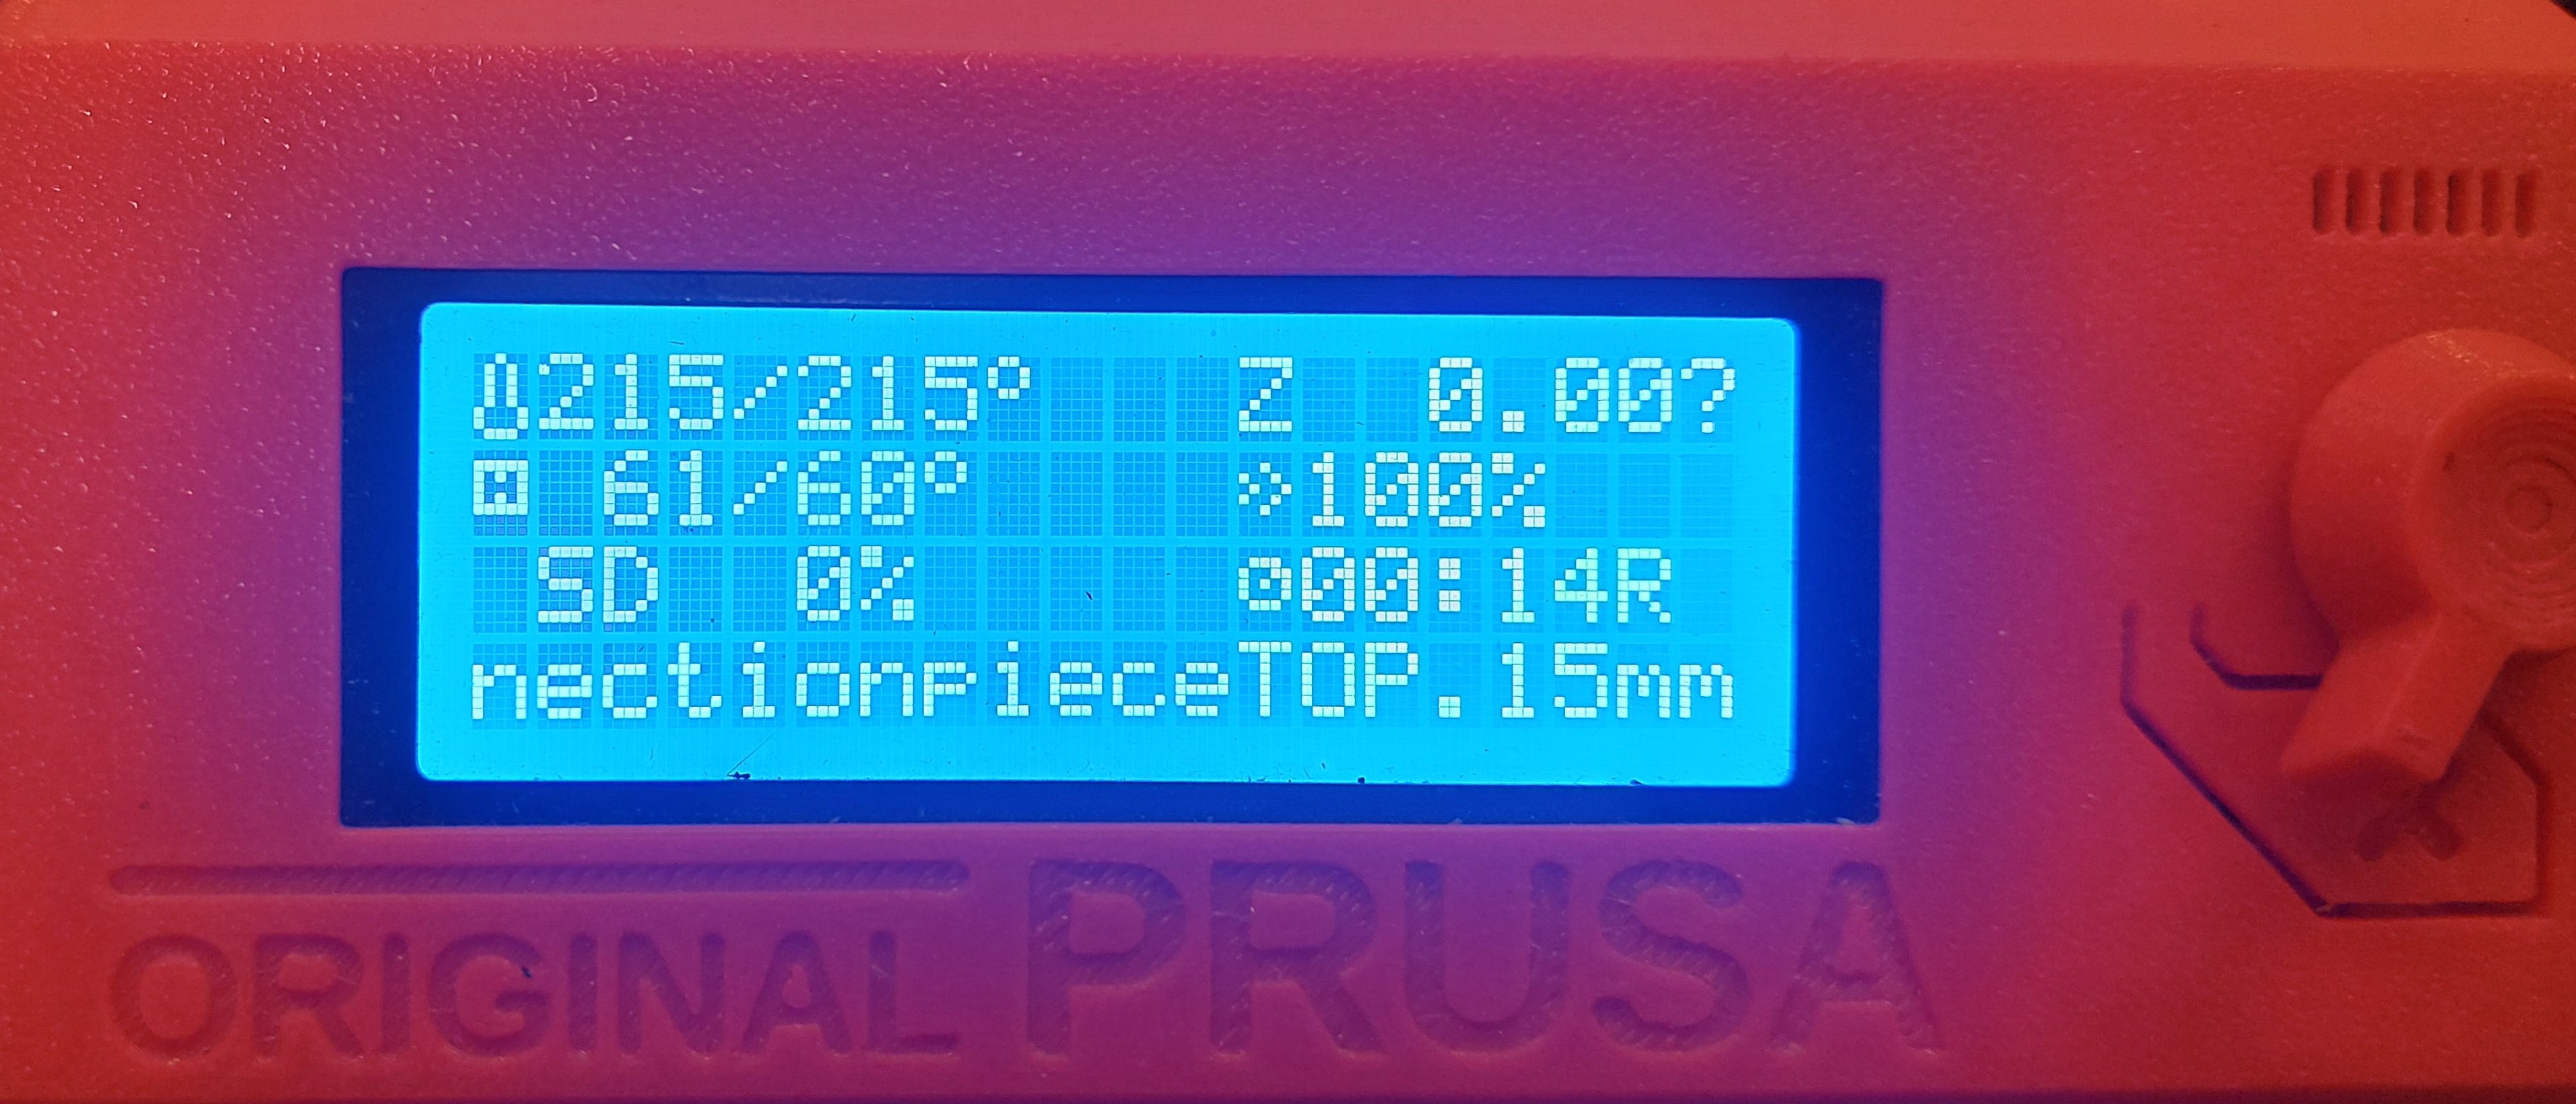
The first few layers are very important, so observe closely for these. This is what the screen will look like:
We have a container to collect excess filament for future recycling in creative projects, so please clean the station up after use and place filament such as support in there.

How to work with:
Creality Ender 3
Software: Prusa Slicer
- determining machine settings
- converting your 3D design file to gcode
- download here
USEFUL LINKS:
video with an overview of where the filament is fed through : https://www.youtube.com/watch?v=20xTO4HkuZY
IN THE SOFTWARE
AT THE MACHINE
How to work with:
Ultimaker
Software: Cura Slicer
- determining machine settings
- converting your 3D design file to gcode
- download here
How to work with:
Belt Printer
AT THE MACHINE
IN THE SOFTWARE
How to work with:
Resin Printer
AT THE MACHINE
IN THE SOFTWARE
Maintenance
PRUSA
Extruder Gears
-
The extruder gears can have built-up filament shavings in the grooves and loose gripping force that can can under-extrusion
-
opening the Idler will allow you to clean the gears and remove excess filament in extruder gears
Cleaning the nozzle
INSIDE
COLD PULLS
resource: https://help.prusa3d.com/article/cold-pull-mk3s-mk2-5s_2075
- If you have a slight clog or print fails, do a couple of cold pulls
-
PLA to PTA filament temperatures can cause issues
- should clear any clogs
- it is a technique that allows you to clean your printers nozzle and hotend from any material that may be stuck r burnt inside
Do not use cold pull technique with Nozzle X
If there is no printing happening at all, refer to https://help.prusa3d.com/article/clogged-nozzle-hotend-mk3s-mk2-5s_2008
HOW TO:
OUTSIDE
-
If the nozzle is covered with plastic, it affects its thermal properties
-
To clean, heat the nozzle for 5 minutes and then turn the printer off. Immediately after that use a small brass brush to clear any plastic on both the nozzle and the heater block (Be careful with the wires and fragile hotend heater)
Replacing the nozzle
https://help.prusa3d.com/article/changing-replacing-the-nozzle-mini_134235
RESOURCES
https://help.prusa3d.com/article/regular-maintenance-mini_133222
https://www.youtube.com/watch?v=hBkTeXxcFi8
https://www.youtube.com/watch?v=G50Q9a8uOKc